

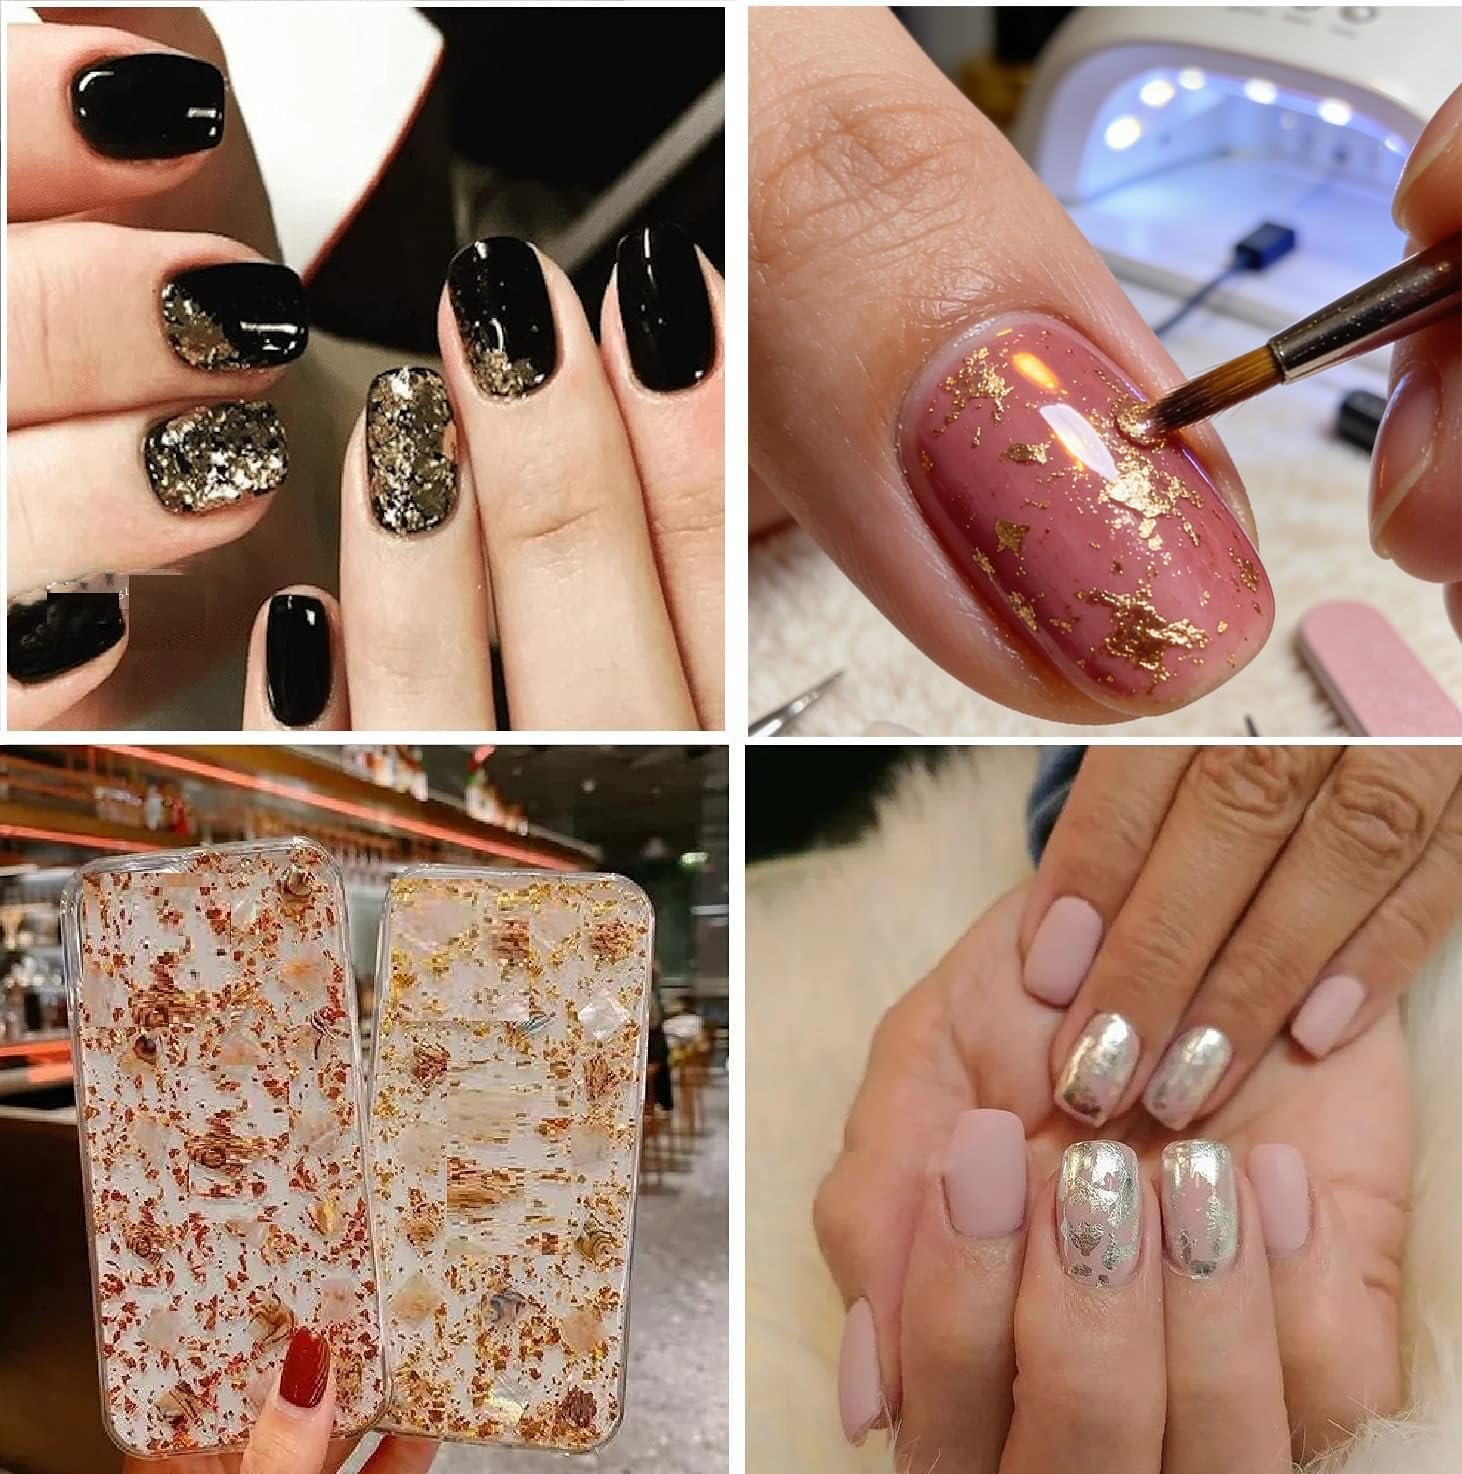
Gold foil nails have that unmistakable, luxe finish that makes a manicure look expensive the second you glance at it. The shattered, marbled gold effect looks like something only a nail tech with years of training could pull off, but the truth is far simpler. With the right foil flakes and glue, gold foil nail art is one of the easiest high-impact looks you can do yourself, no salon appointment required.
Table of Contents
What Makes Gold Foil Nail Art So Eye-Catching
Foil nail art works by transferring thin, metallic flakes onto a sticky glue layer, creating a cracked, marbled pattern that catches the light from every angle. Unlike chrome powder, which gives a smooth mirror finish, foil has texture and irregularity built in, which is exactly what makes each nail look slightly different and one-of-a-kind.
This warm, metallic effect fits right alongside the gold chrome nail trend we covered earlier, though foil brings a rougher, more artisanal texture instead of chrome’s flawless mirror shine. Both share that same gold, luxe mood, just expressed in different ways.
Starting With Real Foil Flakes
The quality of your foil flakes makes a bigger difference than most people expect. Thin, cheap foil tends to tear or clump instead of laying flat, which leaves gaps in your finished design.
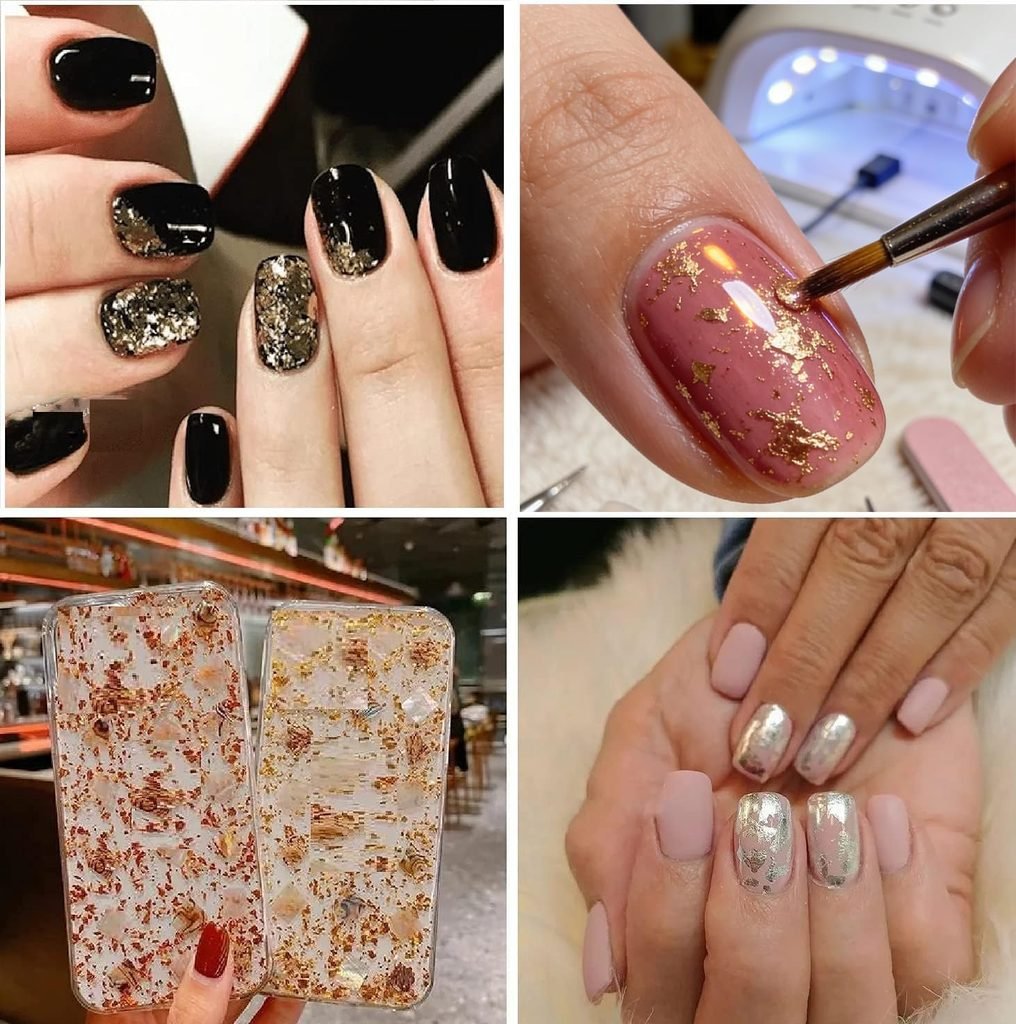
Gold Leaf Flakes, Gold Foil Flakes for Resin gives you a generous 10g supply of genuine metallic foil flakes, more than enough for dozens of manicures. Because the flakes are also popular for resin and craft projects, they tend to be thin and pliable enough to mold naturally around the curve of the nail instead of sitting stiff and flat.
The Glue Step You Can’t Skip
Foil will not stick to bare nail polish. It needs a specific adhesive layer designed to stay tacky long enough for the foil to transfer properly, which is very different from a regular top coat.
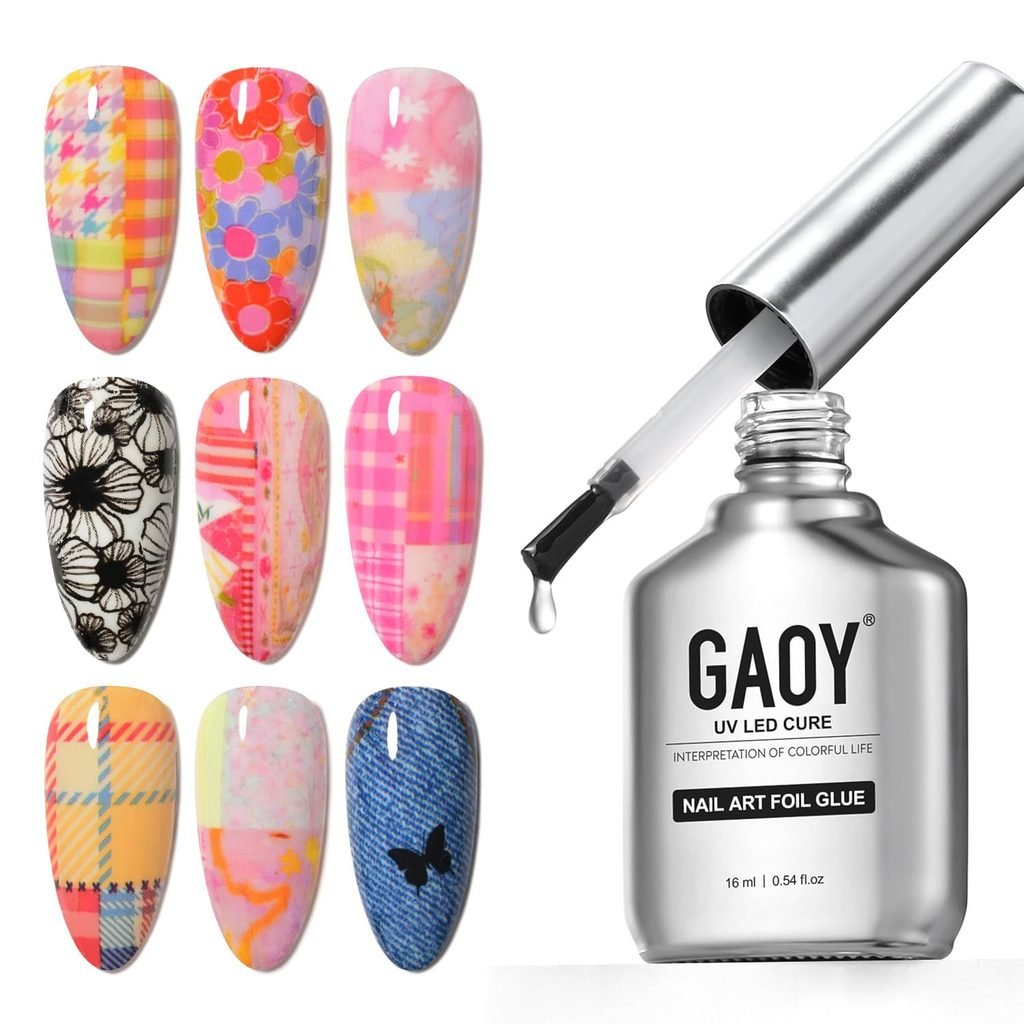
GAOY 16ml Nail Foil Glue is formulated specifically for this job, with a high-adhesion, UV-cured gel base that stays tacky at just the right consistency. Apply a thin, even layer over your cured base color, cure it under UV light until it’s tacky rather than fully hard, then press the foil flakes directly onto the glue and peel back gently to reveal the transferred pattern.
The Step-by-Step Gold Foil Method
Once you have your flakes and glue ready, the technique itself is straightforward:
- Apply and cure your base color, ideally a dark shade like black, burgundy, or deep green to make the gold pop.
- Apply a thin, even layer of foil glue and cure until tacky, not fully hard.
- Press a piece of foil flake onto the tacky glue, shiny side facing up.
- Rub gently over the foil with your finger or a tool, then peel it away slowly.
- Repeat with more foil for full coverage, or leave gaps for a cracked, marbled effect.
- Seal everything with a glossy top coat to lock the foil in place.
Dark base colors make the biggest difference here — gold foil on a light or pastel base tends to look washed out rather than dramatic.
Prefer Something Simpler? Try Foil-Look Stickers
If working with loose foil flakes feels a little too messy for your first attempt, pre-made decals can capture a similar effect with a lot less cleanup.
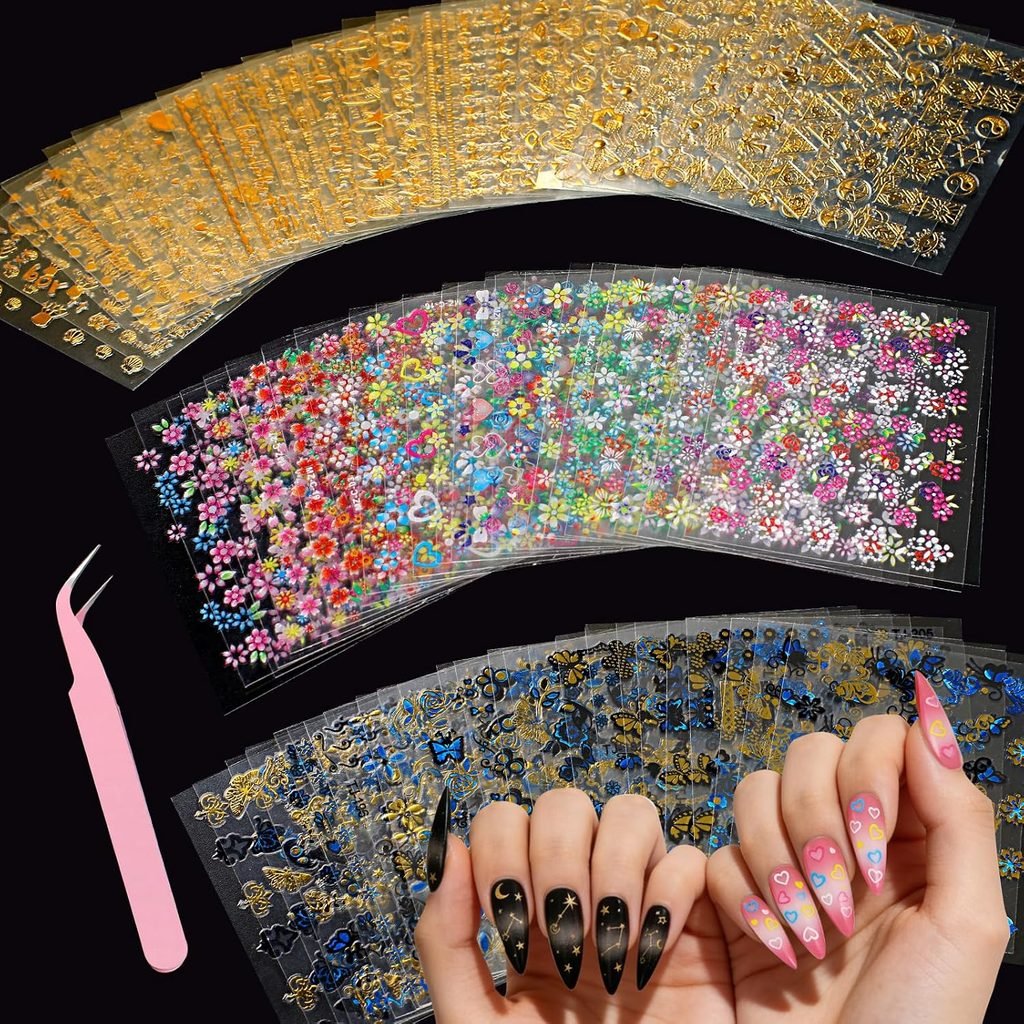
90 Sheets Nail Stickers, 3D Floral Design Decals gives you self-adhesive floral designs that work well layered over a gold base for a more delicate, detailed look, especially if you want to combine texture the way we discussed in our 3D flower nail art guide. Stickers won’t give you the same shattered-glass foil texture, but they’re a great low-mess way to add gold detailing without the learning curve.
Making Gold Foil Nails Last
Foil is delicate once applied, and a weak top coat is the most common reason it starts flaking off early. Always finish with a thick, glossy, no-wipe top coat cured fully under UV or LED light, and reapply a fresh layer of top coat every few days to reseal the edges as it naturally wears.
Final Thoughts
Gold foil nail art proves that a dramatic, salon-worthy manicure doesn’t require salon prices or salon skills. With real foil flakes, the right glue, and a dark base color to make the gold stand out, you can recreate this look at your own kitchen table. And if loose foil feels intimidating at first, gold-toned stickers are a forgiving way to ease into the trend before going all in.
