

Learn how to do ombre nails at home with this warm, easy guide. Follow simple steps, avoid common mistakes, and get a smooth gradient every time.
Have you ever stared at a gorgeous gradient manicure online and thought, “there’s no way I could do that myself”? Take a breath, because you absolutely can. Learning how to do ombre nails at home is one of those little skills that feels intimidating right up until the moment you actually try it, and then it just clicks. All it really takes is a sponge, a couple of polish shades, and a little patience.
Consider this your friendly, no-pressure walkthrough. We’ll go step by step, share the small tricks that make a big difference, and help you avoid the mistakes that trip up most beginners. By the end, you’ll have a soft, beautiful gradient you made with your own two hands.
Table of Contents
Why Learning How to Do Ombre Nails Is Worth It
There’s a reason this technique has stuck around for so long. It’s simple, it’s forgiving, and it looks far more advanced than it actually is. InStyle notes that ombré nails are totally achievable at home, needing little more than two polish shades, a sponge, and a bit of patience, which is honestly music to any beginner’s ears.
Once you understand the basic idea, blending one color softly into another, you can apply it to almost any color combination or mood. Bright and playful, soft and romantic, or moody and dramatic, the technique stays the same. That’s what makes it such a rewarding skill to learn once and use forever.
What You’ll Need Before You Start doing ombre nails
Gathering your supplies ahead of time makes the whole process smoother. Here’s what to have on hand:
- A base coat and top coat
- Two or three polish or gel polish shades
- A makeup sponge or dedicated nail sponge
- A small piece of paper or foil to blot the sponge
- Cuticle oil for cleanup afterward
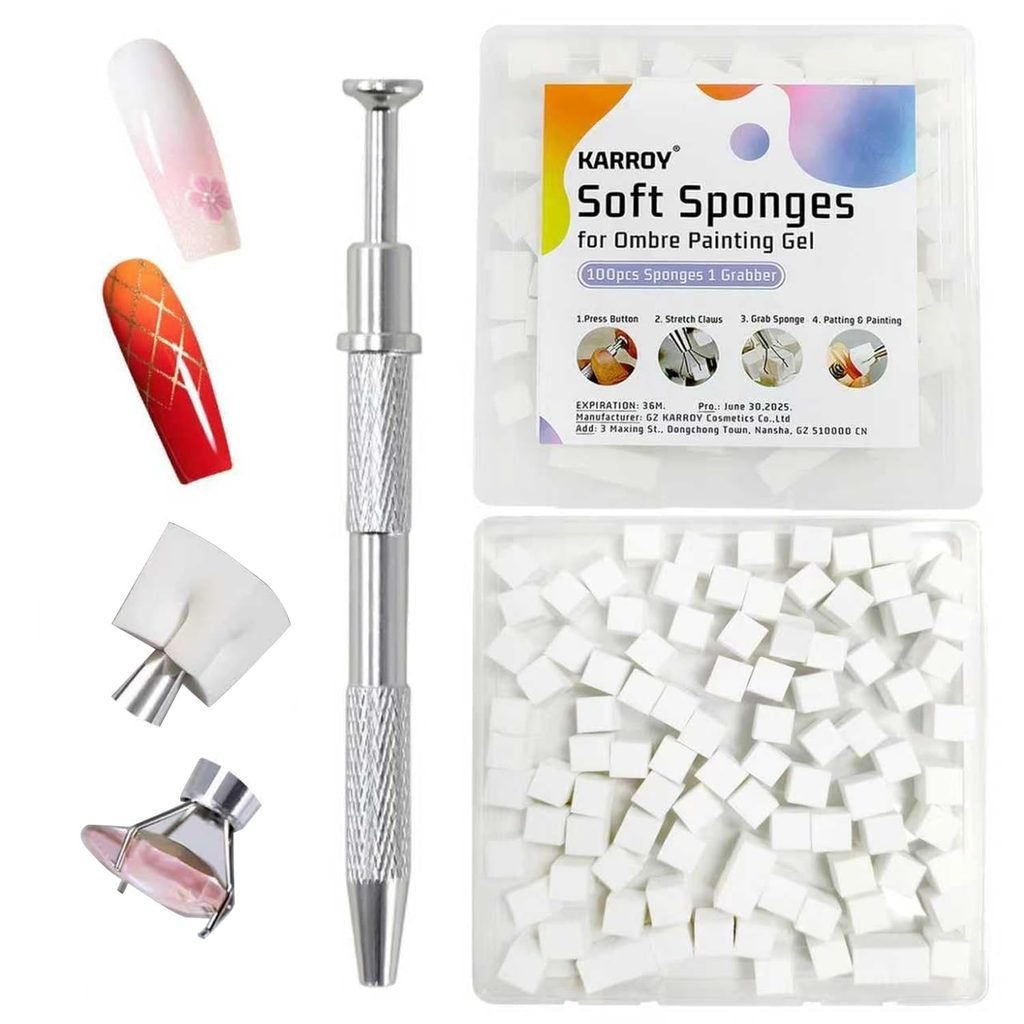
If you’d rather skip cutting up a makeup sponge, nail sponges made specifically for ombré gel polish are a small purchase that saves a surprising amount of frustration. They’re pre-cut, textured just right, and reusable for your next manicure too.
How to Do Ombre Nails in 6 Simple Steps
Ready to try it yourself? Here’s the process, broken down into easy, unrushed steps.
Step 1: Prep your nails. Shape your nails, gently push back your cuticles, and apply a thin base coat. Let it dry fully before moving on.
Step 2: Choose your colors. Pick two shades that blend well together, like light pink and hot pink, or soft lavender and deep purple. Staying in the same color family makes blending far easier for your first try.
Step 3: Load the sponge. Paint stripes of each color directly onto your sponge, slightly overlapping in the middle. This overlap is what creates that soft, blended transition.
Step 4: Dab, don’t drag. Press the sponge gently onto your nail using a light, bouncing motion. A nail artist explained to InStyle that the trick to a seamless gradient is applying a sheer base, then sponging on a sheer and a more opaque color together, building up the color gradually in thin layers rather than all at once.
Step 5: Build and blend. If the color looks patchy, let it dry for a minute, then repeat the dabbing. Thin layers always blend better than one thick, rushed layer.
Step 6: Seal it in. Finish with a glossy top coat to smooth out any texture left behind by the sponge, and clean up any polish on your skin with a small brush dipped in remover.
Making the Process Even Easier
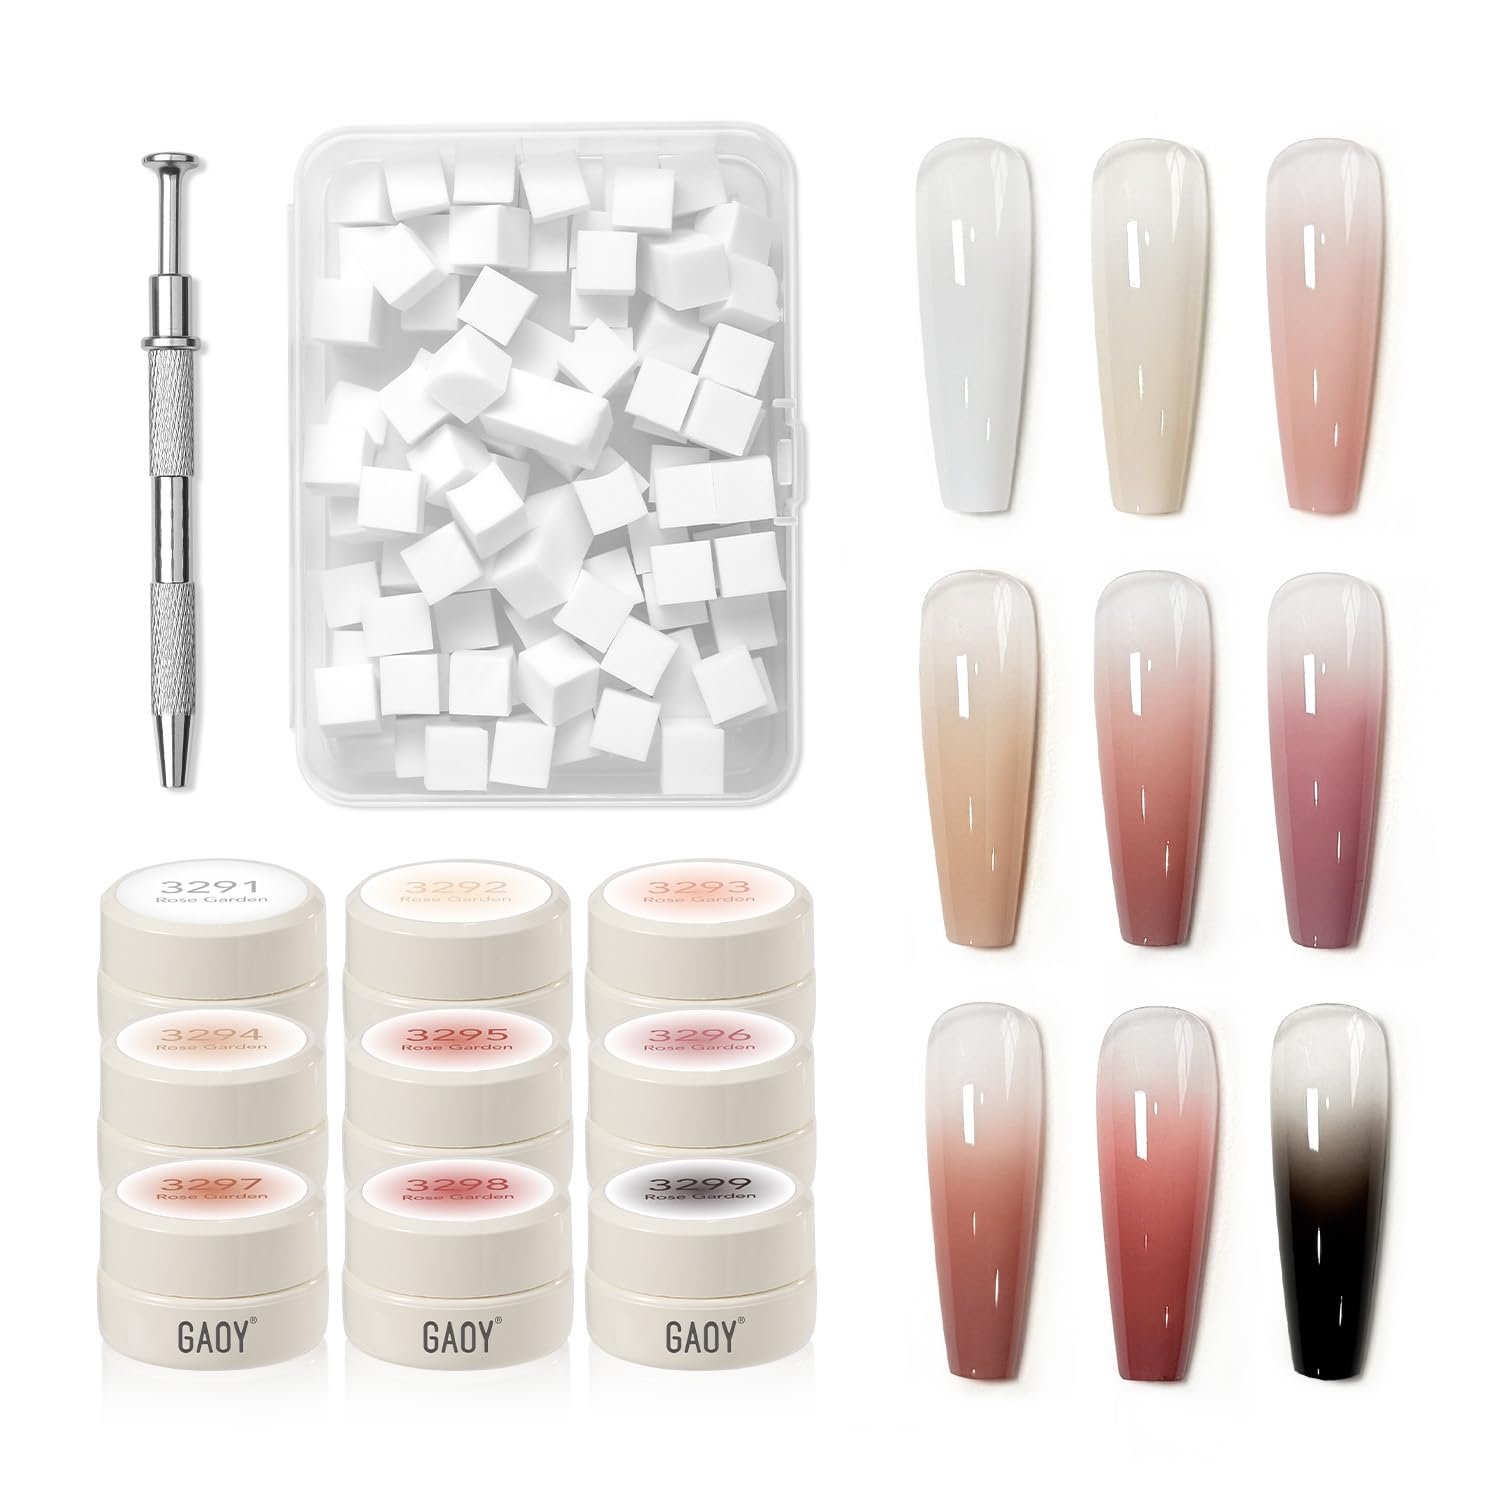
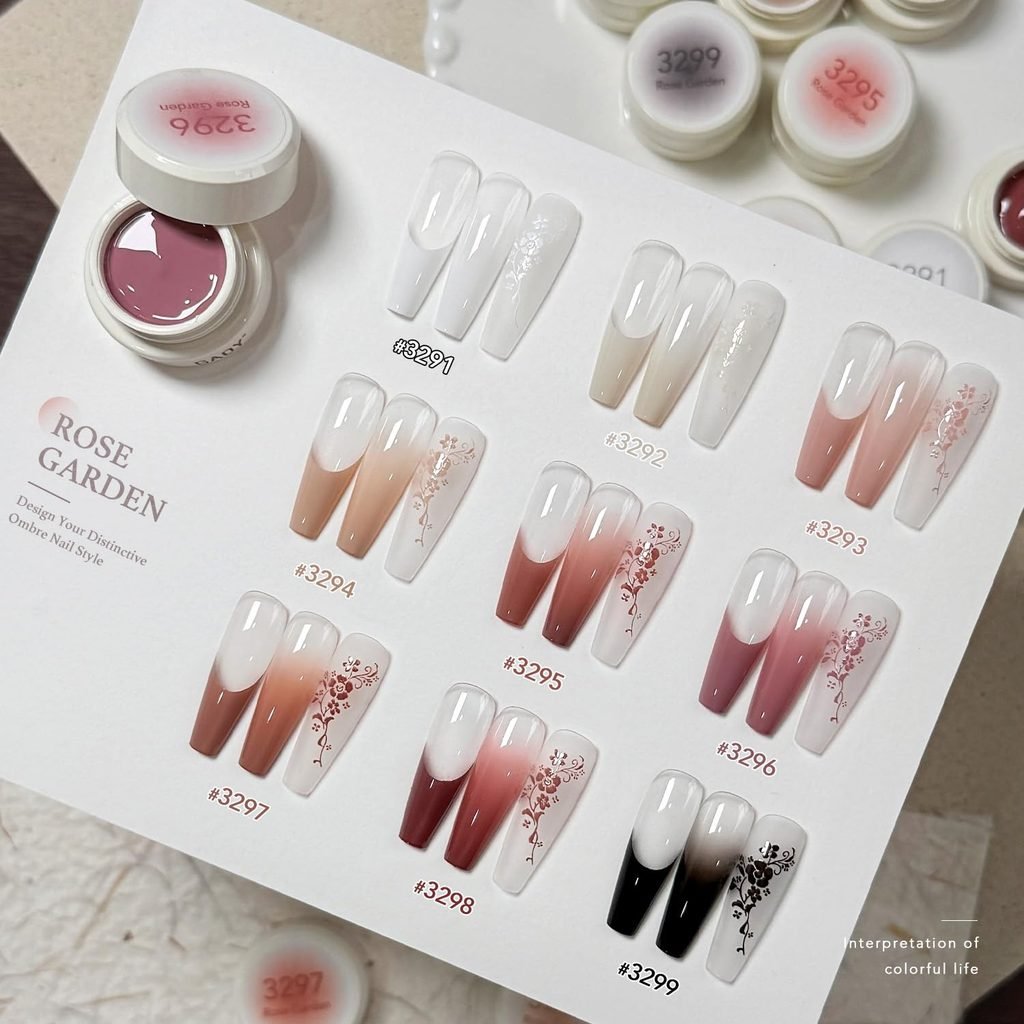
A good product can take a lot of the guesswork out of this technique. The GAOY Ombre Gel Nail Polish Kit comes with shades already designed to blend beautifully into one another, which takes a lot of the color-matching stress off your plate. Pair it with a UV or LED lamp, and you’ll get a longer-lasting, glossier finish than regular polish.
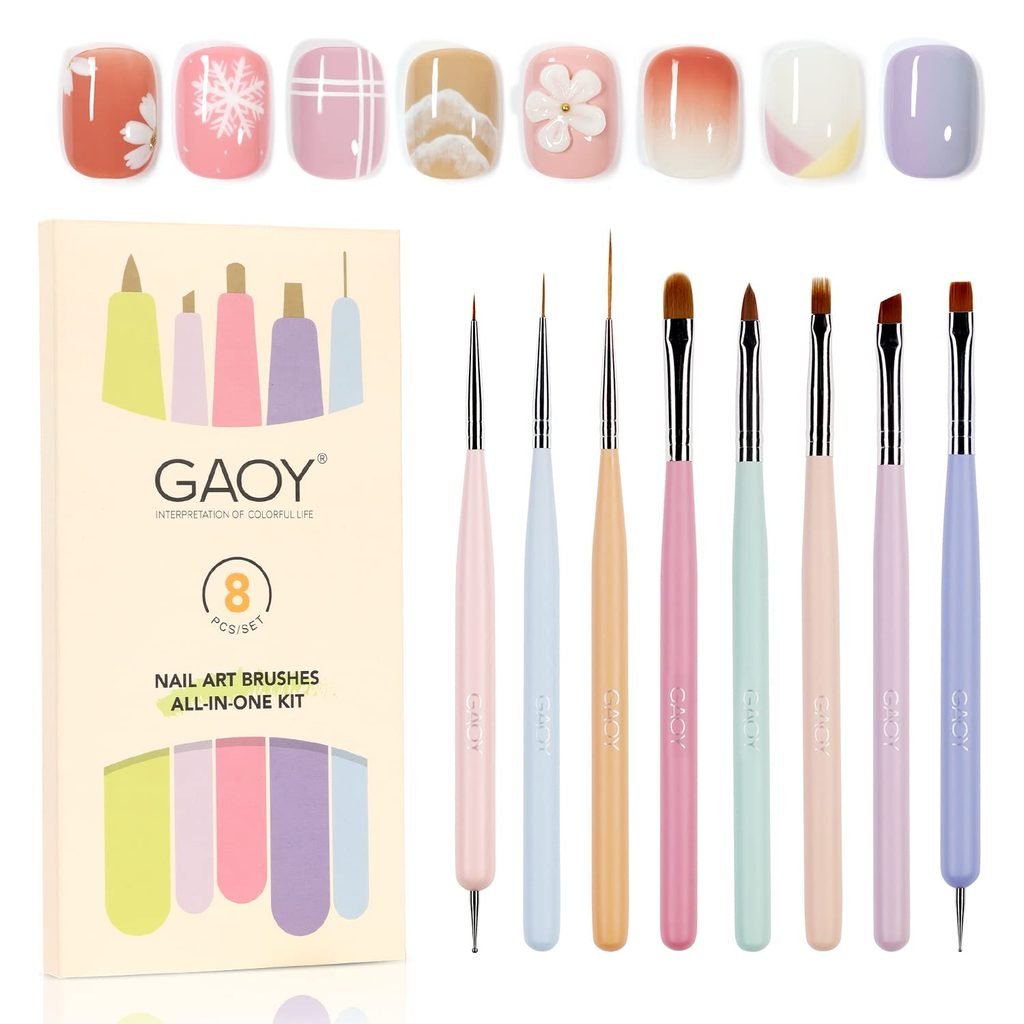
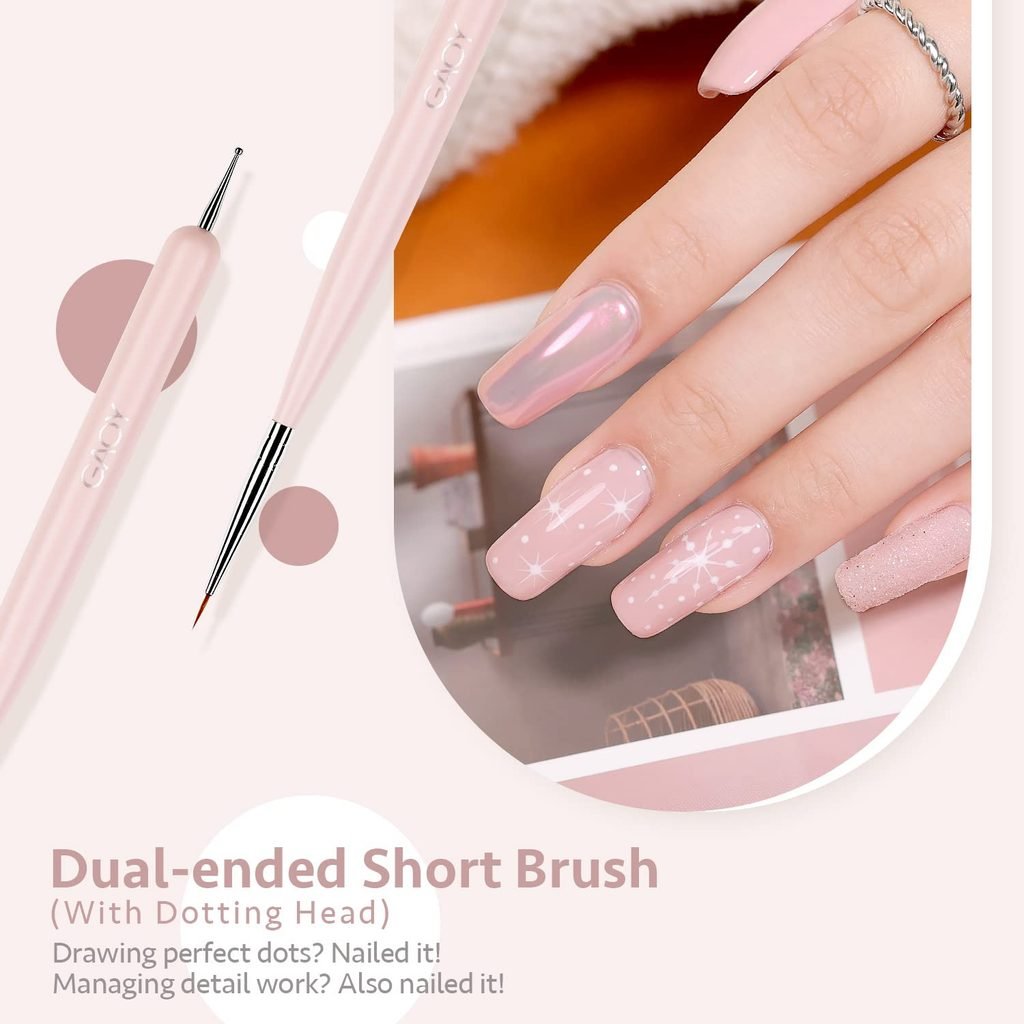
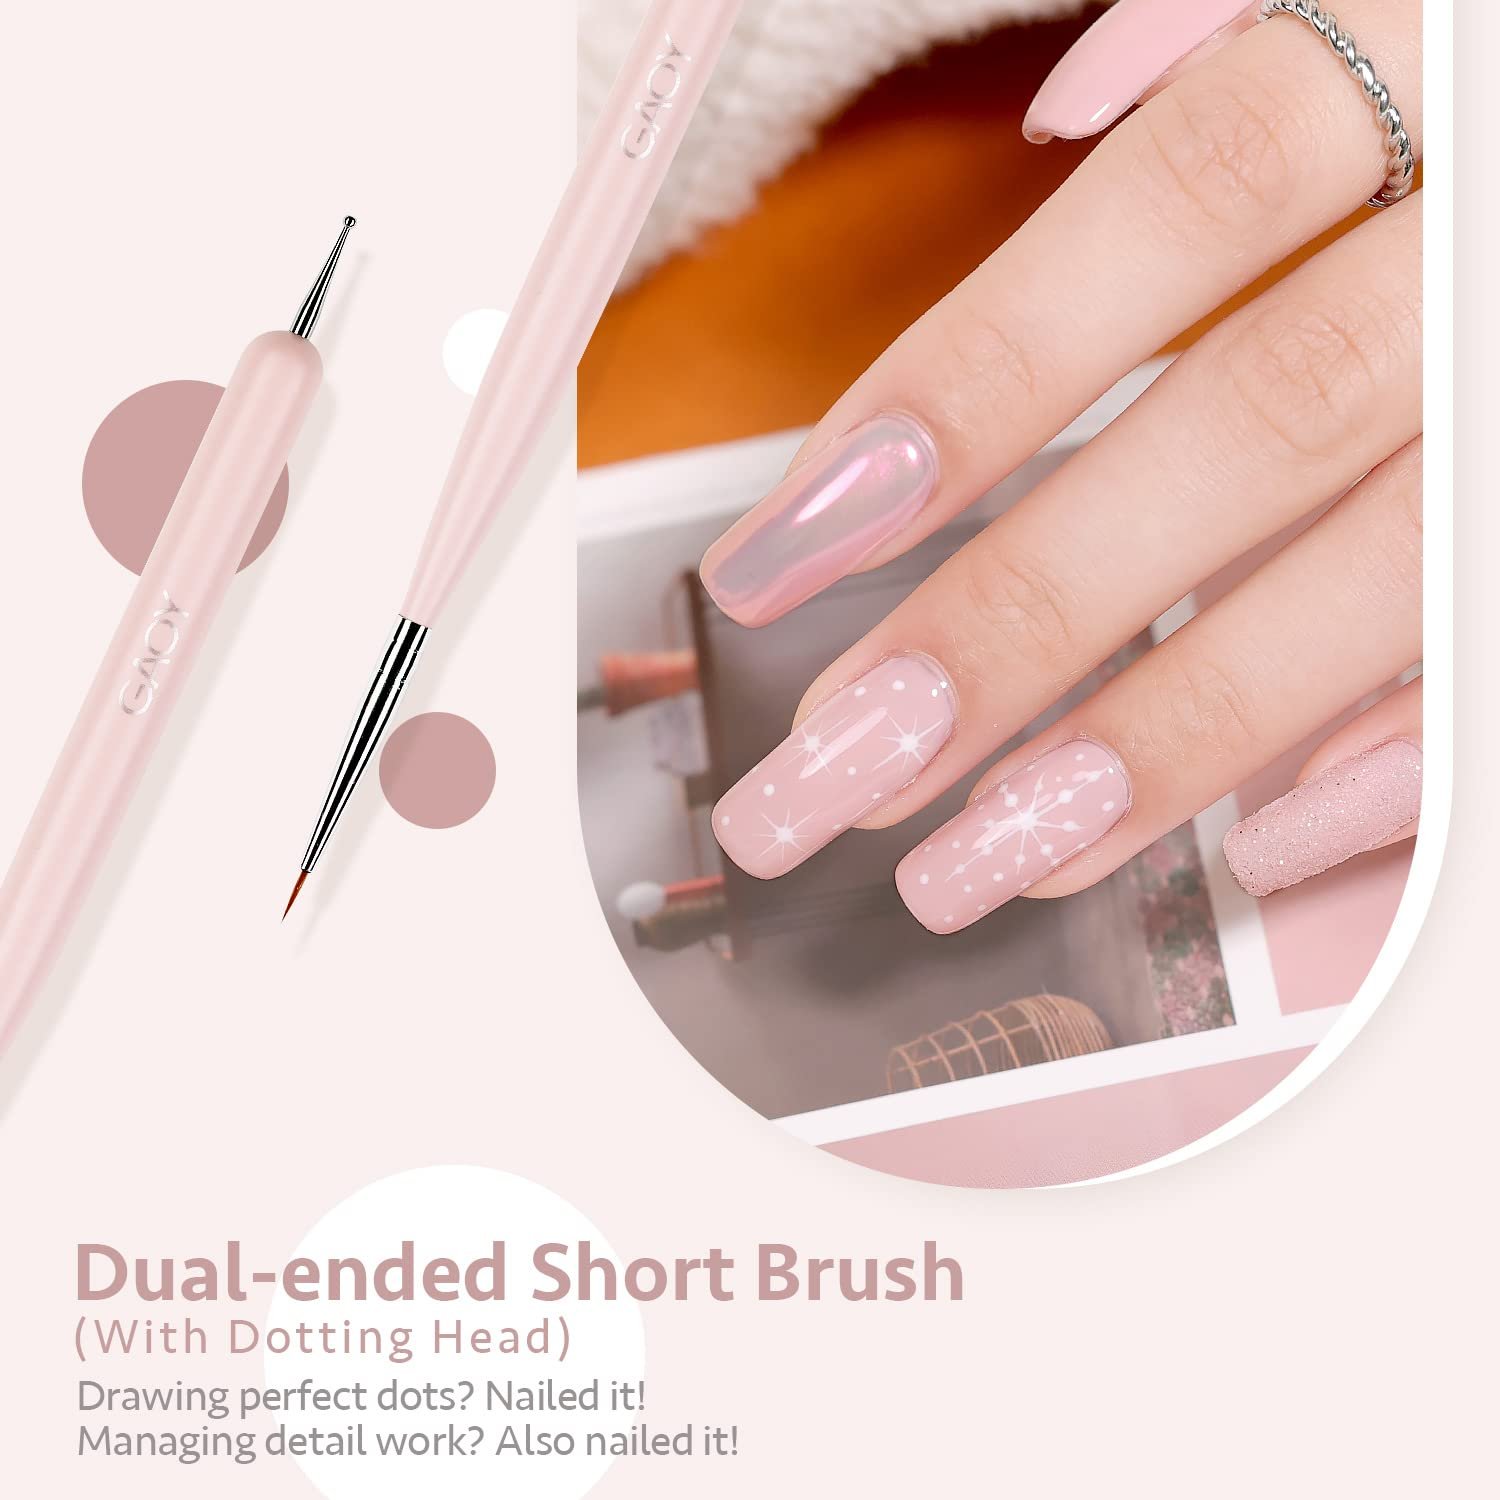
If you want to add fine detail once your gradient is done, a set like the GAOY 8 Pcs Nail Art Brushes makes it easy to add thin lines, dots, or tiny florals on top of your fade. It’s a lovely way to turn a simple ombré into something with a bit more personality.
Common Mistakes (and How to Avoid Them)
Even with the best technique, a few small missteps can throw off your gradient. Here’s what to watch for:
- Using too much polish on the sponge. This creates a harsh, blotchy line instead of a soft fade. Blot the sponge on paper first to remove excess.
- Rushing between layers. Wet layers smear together instead of blending cleanly. Give each layer a minute to set.
- Skipping the base coat. This can leave your natural nails stained, especially with darker shades.
- Choosing colors with clashing undertones. Warm and cool tones from the same color family blend far more smoothly than shades that fight each other.
Nail Health Basics While You Practice
As you learn how to do ombre nails, it’s worth keeping your natural nails in good shape too. If you’re using gel polish that cures under a lamp, the American Academy of Dermatology recommends applying sunscreen to your hands beforehand to protect your skin during curing.
Between manicures, Mayo Clinic suggests keeping your nails dry and moisturizing your nails and cuticles regularly to prevent splitting and peeling. And whenever it’s time for a new look, always remove gel gently. Soaking beats peeling, every time.
A Few Style Ideas Once You’ve Got the Hang of It
Once the basic technique feels comfortable, there’s a whole world to explore. Byrdie points out that even a classic French ombré remains one of the most reliably wearable takes on the trend, thanks to its soft, neutral palette. If you’re craving even more inspiration, our guide to french ombre nails with design shows how to layer in small details like florals and chrome once you’ve mastered the basic fade.
Frequently Asked Questions
How long does it take to learn how to do ombre nails? Most beginners get comfortable after two or three tries. The technique is simple, but a little muscle memory helps.
Do I need gel polish, or does regular polish work? Regular polish works fine, though gel lasts longer and gives a glossier finish. Just remember gel needs a UV or LED lamp to cure.
What’s the easiest color combination for a first attempt? Light pink fading into white is one of the most forgiving combinations for beginners, since the colors are close in tone and blend easily.
Why does my ombré look streaky instead of smooth? This usually means too much polish went on the sponge at once. Blot it well and use thin, layered coats for a softer result.
Learning how to do ombre nails at home really does come down to patience and a bit of practice. Once you get the rhythm of loading the sponge and building your color slowly, you’ll wonder why you ever thought it looked complicated. Grab your polish, take your time, and enjoy the process.
For more manicure inspiration once you’ve mastered your gradient, take a look at our guides to tortoiseshell nail designs and short fall nails.
