

If you’re one of the many beginners doing nails at home for the first time, gel manicures might feel intimidating. Salon-quality nails that last for weeks without chipping sound like they require professional training — but they don’t. With the right products and a simple routine, anyone can get a glossy, long-lasting gel manicure from their living room.
This guide walks you through the entire process step by step, plus the one kit that makes it easy for total beginners to get it right on the first try.
Why Beginners Doing Nails at Home Are Switching to Gel
Regular polish chips within days and takes forever to dry. Gel, on the other hand, cures in seconds under a lamp and can last two to three weeks without losing its shine. That durability is exactly why so many beginners doing nails at home are ditching salon appointments and building their own gel nail routine — it’s cheaper, faster in the long run, and surprisingly beginner-friendly once you have the right tools.
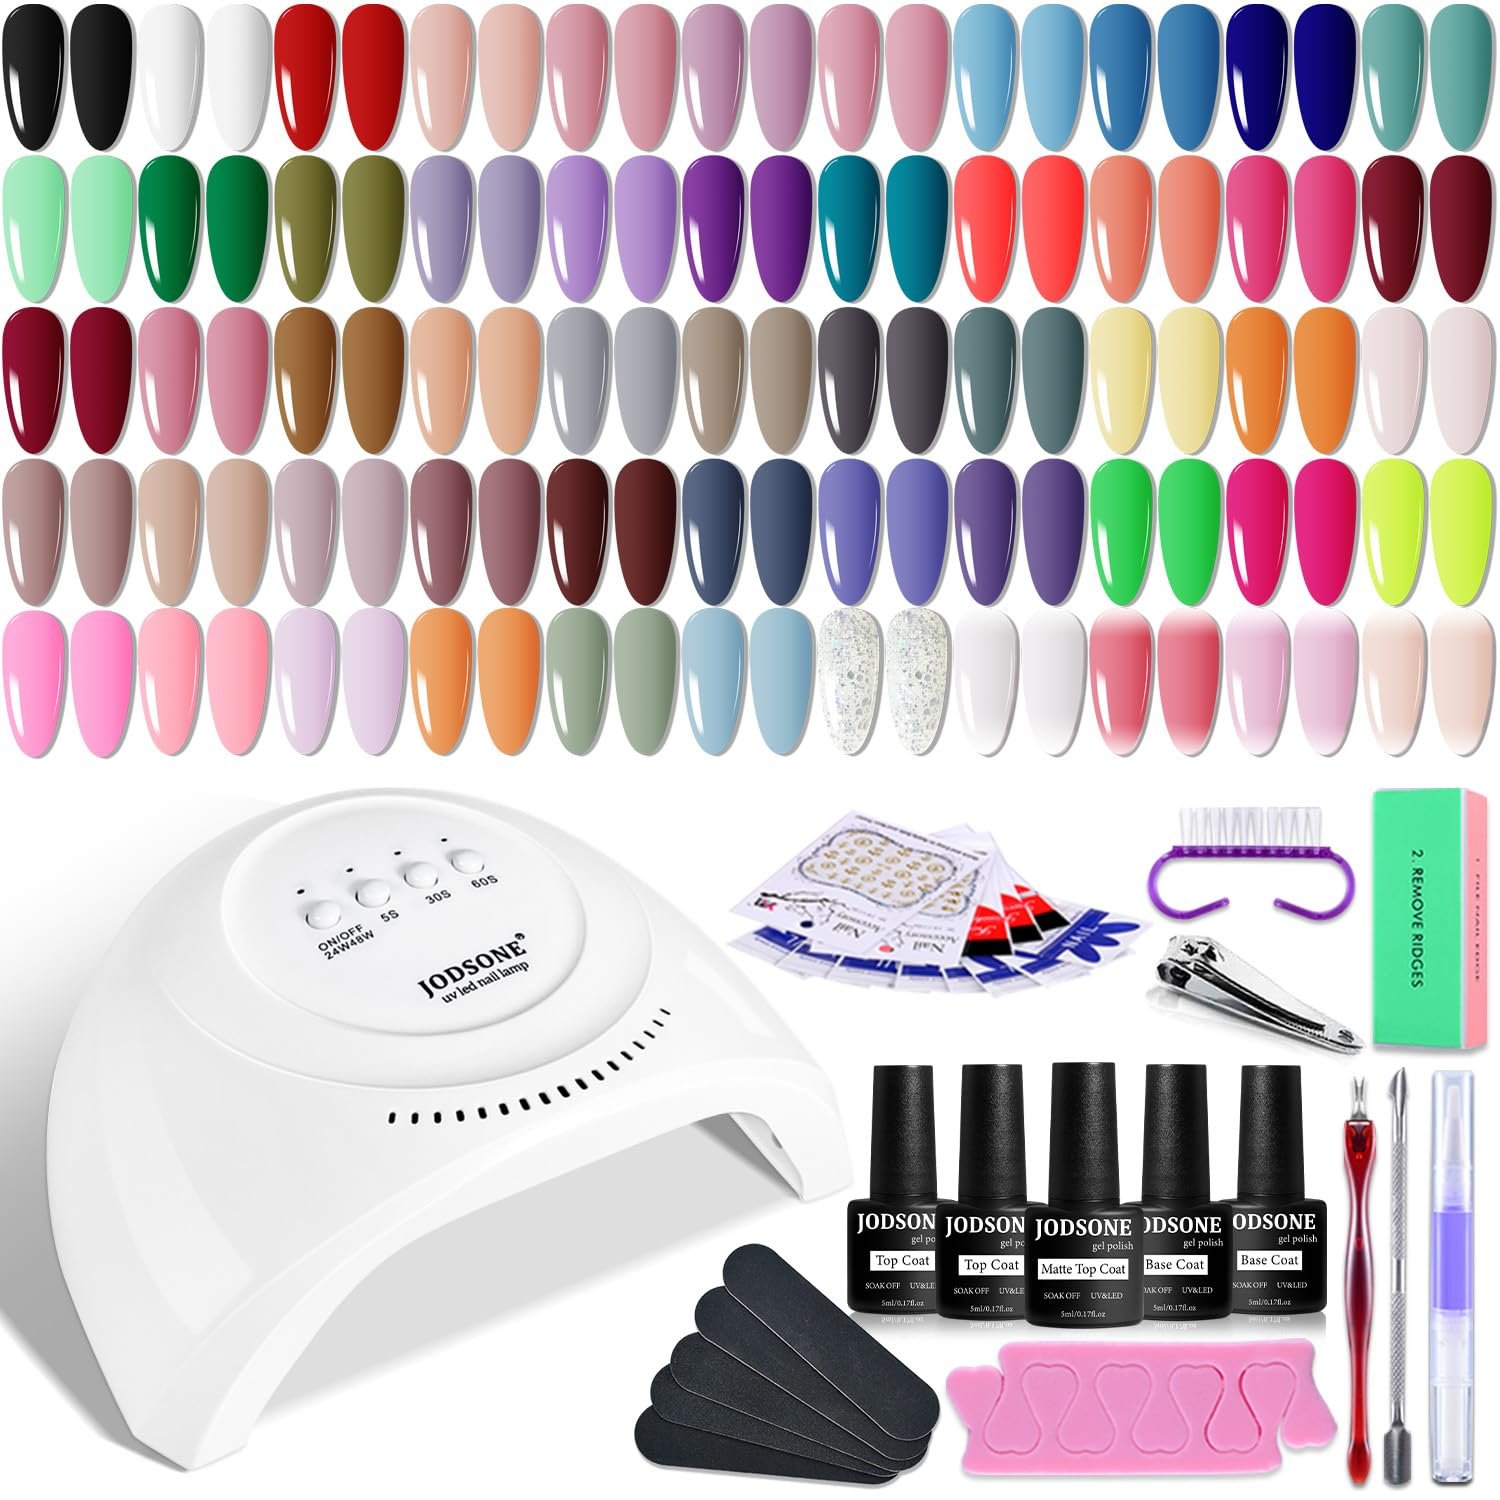
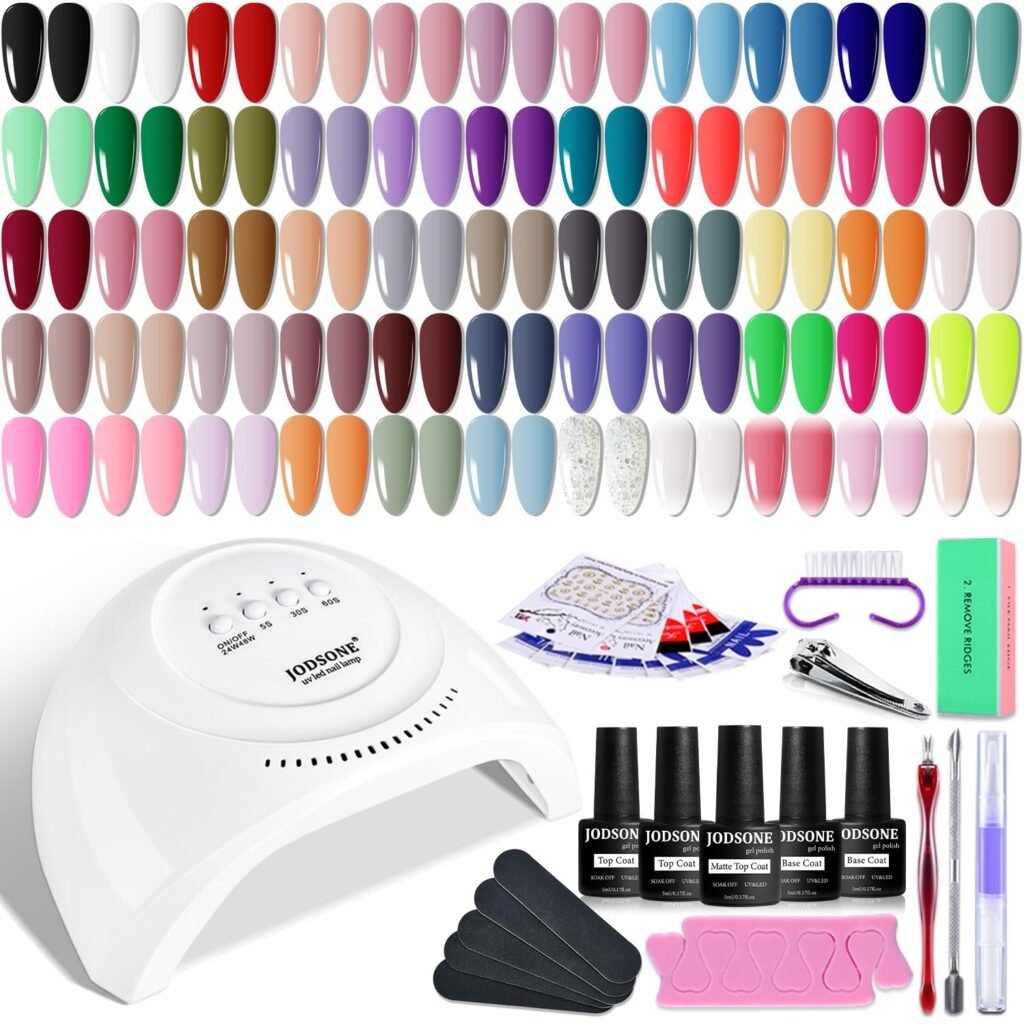
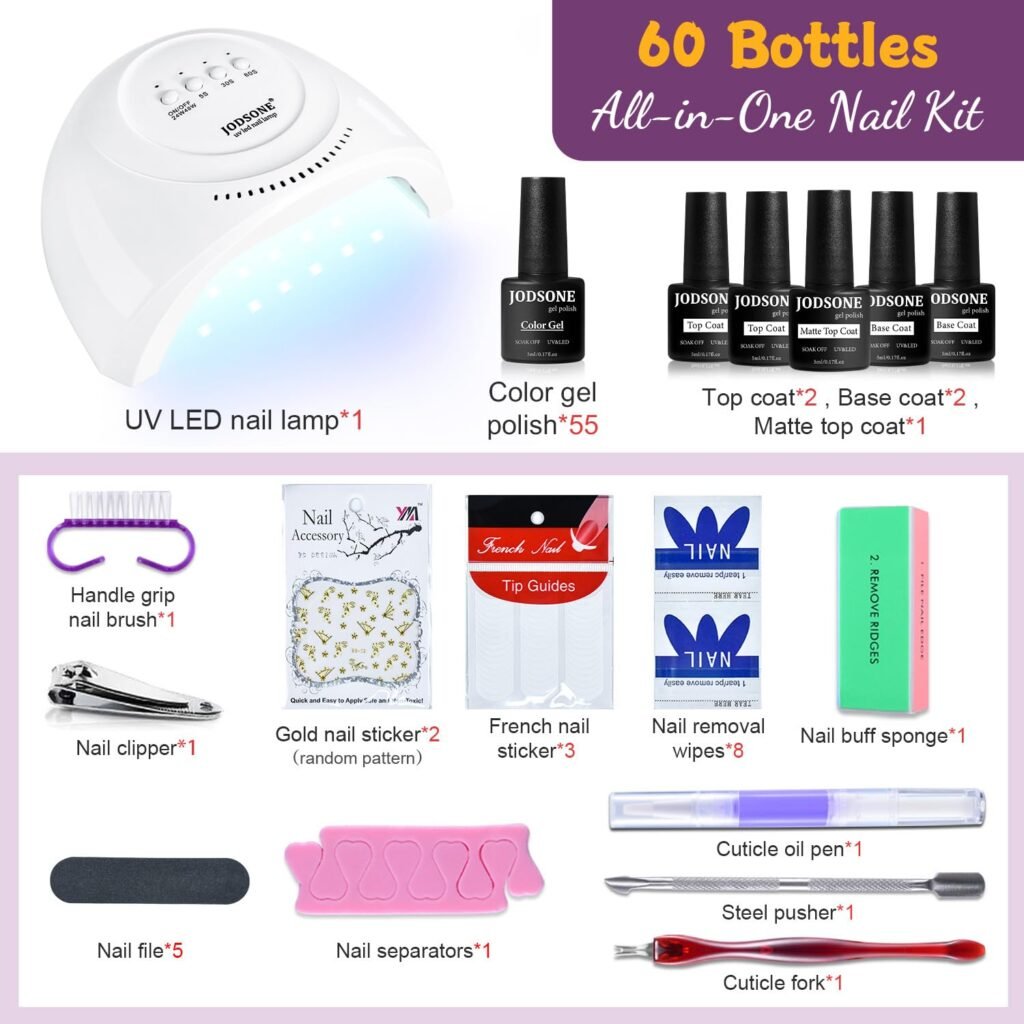
That’s where a complete, well-matched kit makes all the difference. Instead of buying a lamp, base coat, top coat, and colors separately from different brands, a bundle like the JODSONE Gel Nail Polish Kit (60 PCS) gives you everything in one box, already designed to work together.
What You’ll Need
- Cuticle pusher and nail file
- Rubbing alcohol or nail cleanser
- Lint-free wipes
- Base coat, gel colors, and top coat
- An LED/UV nail lamp
- Cuticle oil
- The JODSONE Gel Nail Polish Kit checks nearly every one of these boxes in a single purchase, which is a big reason it’s become a go-to pick for beginners doing nails at home for the first time — no guesswork about which products are compatible.
Step 1: Prep Your Nails
Start with clean, bare nails. Push back your cuticles gently with a cuticle pusher, then shape your nails with a file. Lightly buff the surface of each nail to remove natural shine — this small step helps the gel grip properly and prevents early peeling.
Wipe each nail with rubbing alcohol to remove oils and residue. Try not to touch your nails after this point.
Step 2: Apply the Base Coat
Using the base coat from your kit, apply a thin, even layer to each nail, capping the tip to seal the edge. Cure under your LED lamp — most lamps in beginner kits, including JODSONE’s, cure a layer in around 30–60 seconds.
Step 3: Apply the Gel Color
Choose a shade from your color collection and apply a thin first coat. Cure under the lamp, then follow with a second coat for full, even color. This is where a kit with a wide shade range is especially helpful, since it means you’re not limited to one or two colors while you’re still practicing.
Step 4: Seal with a Top Coat
Apply a thin layer of top coat, capping the tips again, and cure fully. Once cured, wipe away the tacky residue on the surface with a lint-free wipe and a little rubbing alcohol. This reveals the glassy, salon-like shine gel manicures are known for.
Step 5: Moisturize
Finish by massaging cuticle oil into your nails and skin. It keeps your cuticles healthy and helps your manicure hold up better over the following weeks.
Tips for Beginners Doing Nails at Home
- Keep every layer thin. Thick coats don’t cure properly and are more prone to bubbling or peeling.
- Don’t rush the curing time. Under-curing is the number one reason gel manicures fail early.
- Avoid getting gel on your skin. It stops the gel from bonding to the nail correctly.
- Buff before you polish. It’s a small step that makes a big difference in how long your manicure lasts.
- Remove gel the right way. Soak nails in acetone with foil wraps for 10–15 minutes rather than peeling it off, which can damage your natural nail.
Why the JODSONE Kit Is Ideal for First-Timers
For anyone still figuring out their routine, the JODSONE Gel Nail Polish Kit (60 PCS) is worth checking out because it removes the most common barrier for beginners doing nails at home: not knowing what to buy. With a lamp, multiple gel shades, base and top coat, and tools included in one set, it’s built specifically for people starting from zero — no separate trips to piece together a routine, and no compatibility issues between mismatched brands.
Final Thoughts
Doing gel nails at home is one of those skills that looks harder than it actually is. Once you’ve prepped your nails properly, applied thin coats, and cured each layer fully, you’ll have a manicure that rivals the salon — at a fraction of the cost. Starting with an all-in-one kit like JODSONE’s takes the guesswork out of the process, making it one of the easiest ways for beginners doing nails at home to get professional-looking results on the very first try.
