

Ombre nails look like they belong to a professional salon manicure, but the sponge technique makes this one of the easiest nail art styles to recreate at home. If you’ve been putting off trying ombre nail ideas because you assumed you needed special training, the good news is that all you really need is a makeup sponge, a couple of gel colors, and a little patience.
Table of Contents
Why the Sponge Method Works So Well
Ombre nails rely on a smooth color gradient, fading from one shade into another across the nail. Trying to blend two polishes with a brush almost always leaves harsh lines. A sponge solves this problem by dabbing color on in layers, softening the transition naturally with every pat.
This is the same reason chrome powder techniques, like the ones in our gold chrome nails guide, rely on buffing motion instead of brushing — texture-based application methods almost always beat trying to paint a smooth effect on with a brush alone.
Picking the Right Gel Colors
Before you touch a sponge, you need gel shades that actually blend well together. Colors next to each other on the color wheel — like pink into peach, or lavender into blue — create the smoothest gradients. Jumping between very different shades can leave a muddy section in the middle.
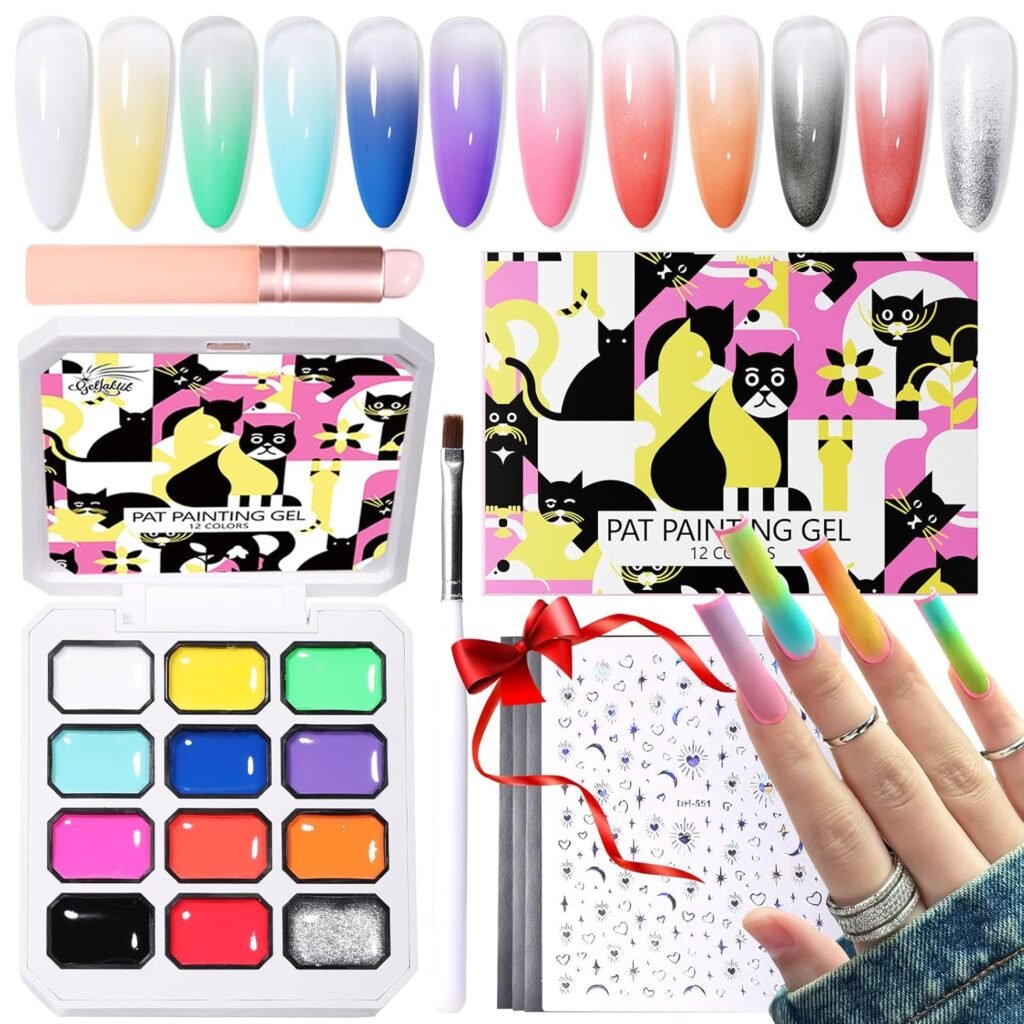
12 Color Patting Gel Polish Palette Kit is a solid starting point for beginners because it’s specifically designed for patting techniques rather than regular brush application, and the color range makes it easy to find shades that transition smoothly into each other.
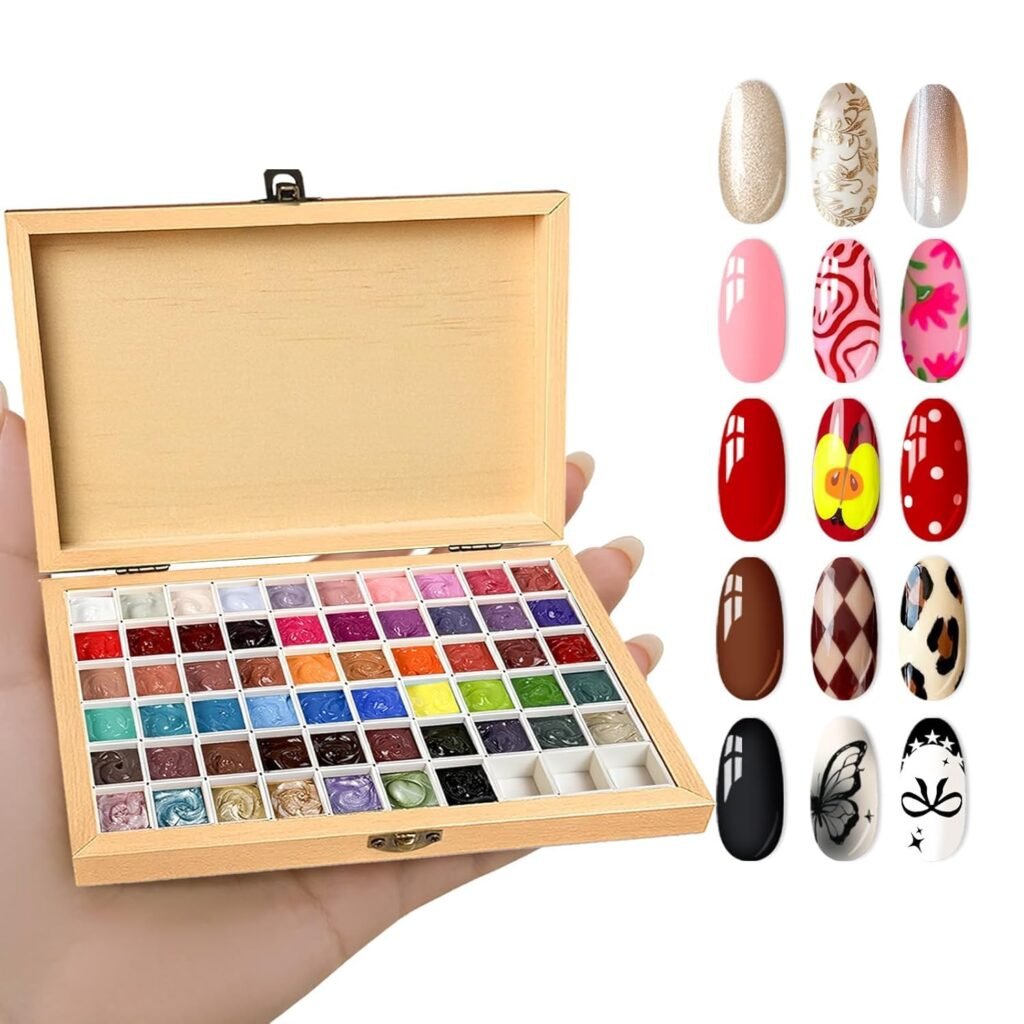
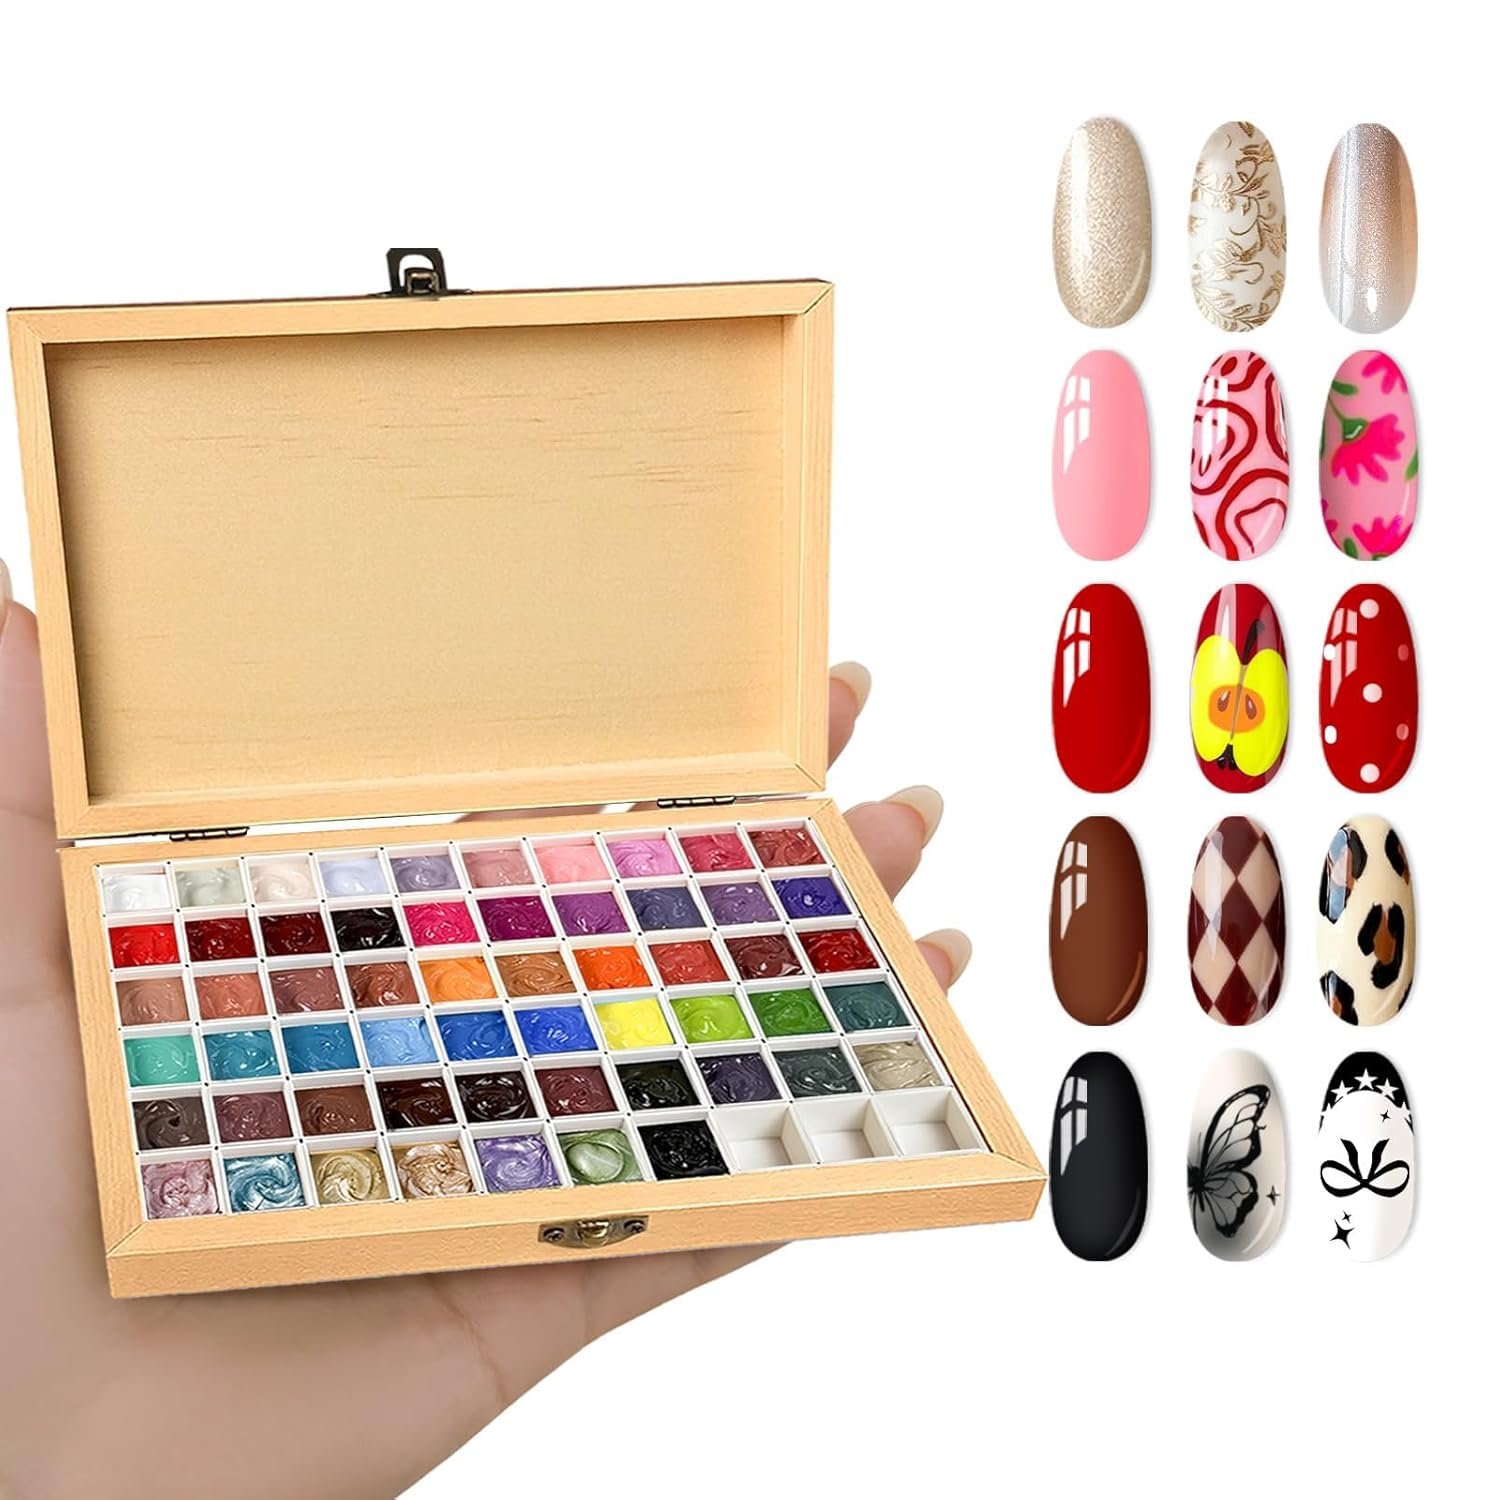
If you want more flexibility down the line, Patting Gel Polish Palette Kit with 57 Colors gives you a much wider range to experiment with, which is worth it if ombre becomes a regular part of your at-home manicure routine. Having more shade options makes it far easier to match ombre nails to your skin tone, something we covered in more detail in our best nail colors for your skin tone guide.
The Step-by-Step Ombre Method
Once your colors are ready, the actual technique is fairly simple:
- Apply a base coat and cure it, just like any gel manicure.
- Apply your lightest shade as a base color across the whole nail and cure.
- Dab your darker shade onto a sponge, then gently pat it onto the tip of the nail, working the pigment down about halfway.
- While the darker color is still uncured, lightly pat over the blend line a few times to soften the transition.
- Cure, then repeat a second light layer if the gradient looks too harsh.
- Seal everything with a glossy top coat.
The sponge itself matters more than people expect. A rough or overly dense sponge can leave a bumpy, uneven texture instead of a smooth blend.
Getting the Right Sponge for the Job
Not all sponges pat on gel evenly, which is why a lot of beginners get frustrated with patchy results on their first try. Nail Sponges for Ombre Gel Polish Patting are made specifically for this technique, with a texture that grabs and releases gel polish evenly instead of soaking it all up or leaving clumps behind.
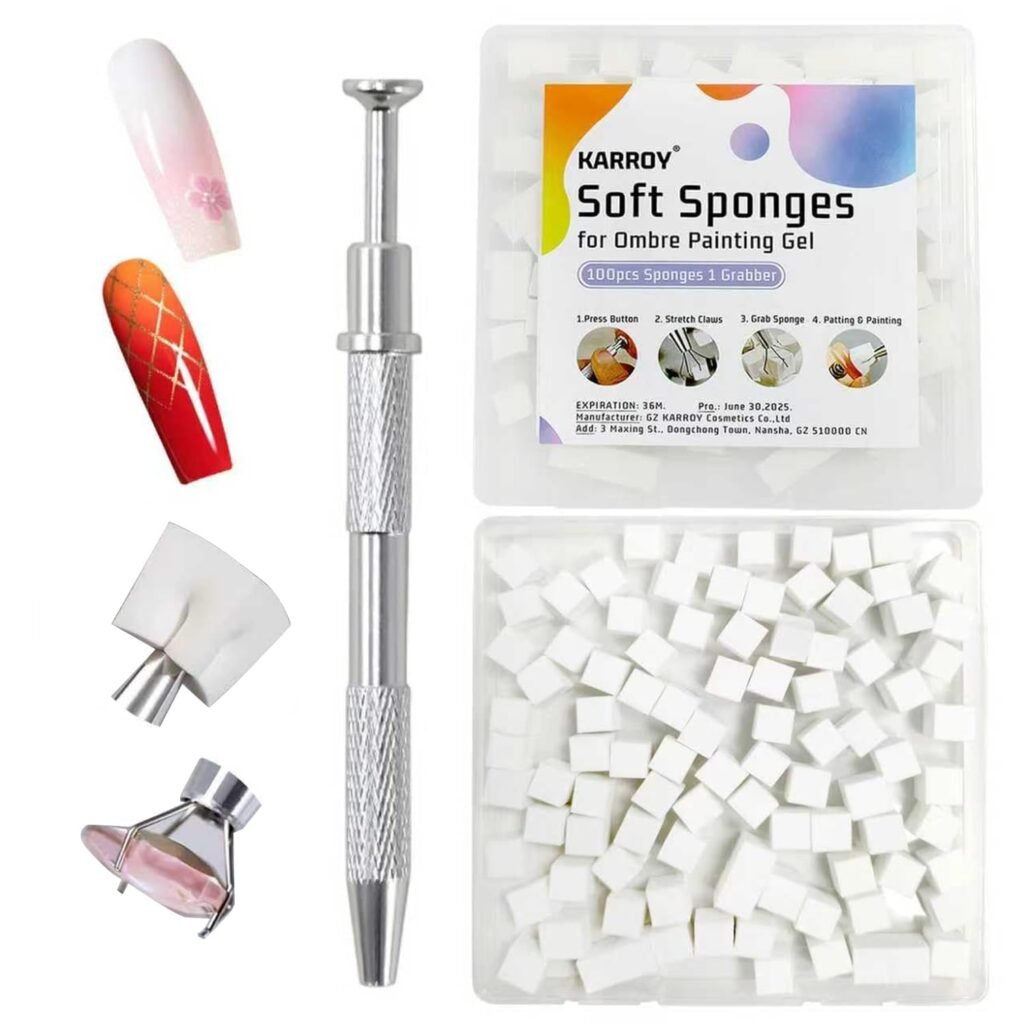
Using a proper patting sponge instead of a regular makeup sponge is one of the simplest upgrades you can make if your ombre nails keep coming out streaky.
Common Ombre Mistakes to Avoid
A few small errors account for most failed ombre attempts:
- Applying too much gel to the sponge at once, which creates thick, uneven patches
- Curing too early, before the blend line has been softened
- Choosing colors that are too far apart on the color wheel
- Skipping a top coat, which leaves the texture from patting visible and dull
Slowing down between steps and curing properly at each stage makes a bigger difference than any specific product.
Final Thoughts
Ombre nails don’t have to be intimidating once you understand the sponge technique behind them. With the right gel colors, a proper patting sponge, and a little patience between layers, you can get a smooth, professional-looking gradient without ever stepping into a salon. It’s a great skill to add to your at-home manicure routine, especially once you start mixing it with other trends already in your rotation.
