

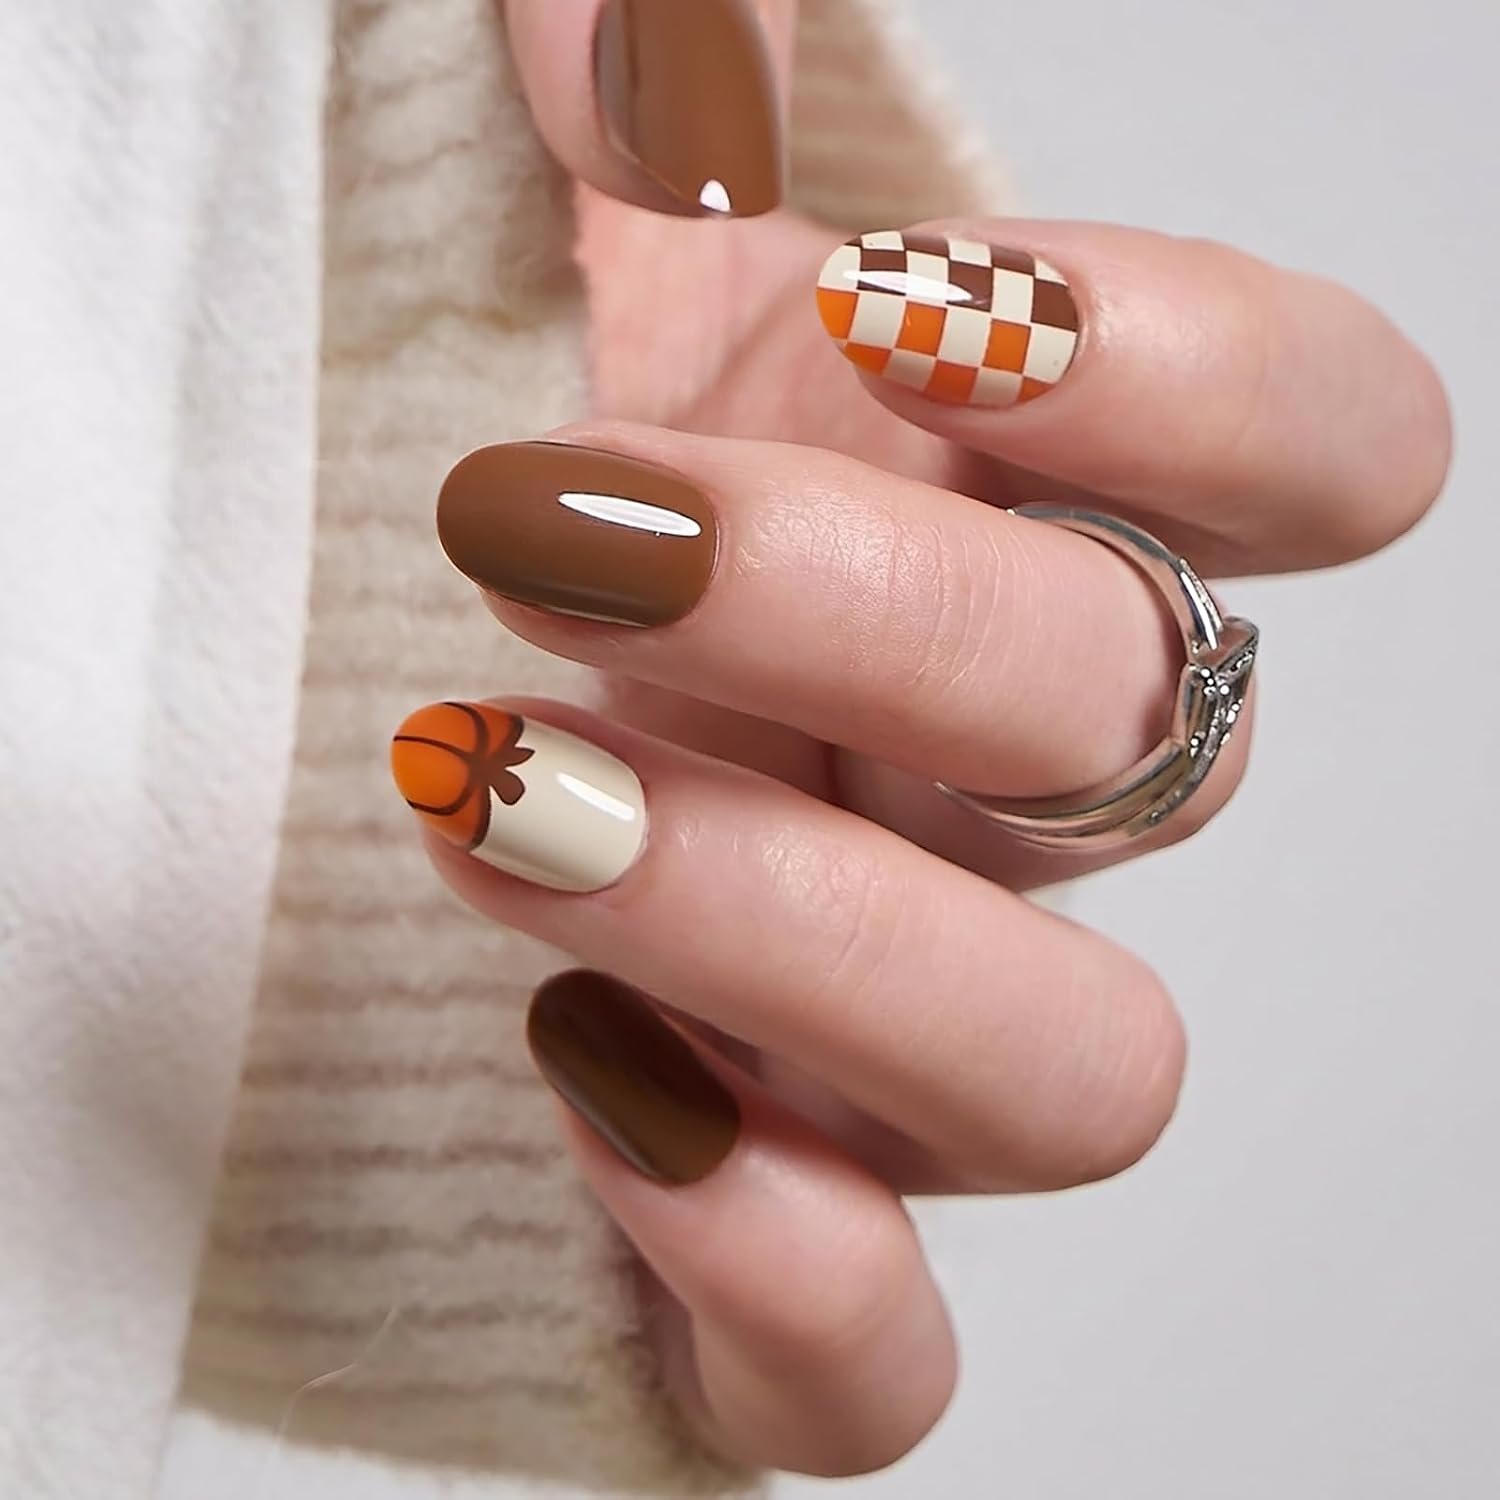
Plaid nail designs look intricate but come together in a few simple lines. Get the step-by-step technique, color ideas, and product picks for fall.
Skip the theory. Here’s how plaid nail designs actually go on, line by line, no art degree required.
Table of Contents
Plaid Nail Designs Start With Two or Three Colors
Plaid needs contrast to read clearly. Nail artist Lynn Mason at Mavala told ELLE that warm neutrals and jewel tones both work beautifully for the pattern, and that keeping the palette to two or three shades is what makes the grid look intentional instead of busy.
Good starter combinations: cream and brown, burgundy and black, forest green and cream, or camel and rust. Pick your base color first, since that’s what every other line will sit on top of.
Step One: Paint Your Base and Let It Fully Dry
Apply a solid base coat in your lightest chosen color and let it cure or dry completely. The pattern falls apart fast if you start drawing lines on a tacky surface, since wet polish drags and smears the moment a brush touches it. This step is worth the extra few minutes, even if it feels like the least exciting part of the process.
Step Two: Draw the Vertical Lines First
Using a thin nail art brush or a striping tool, paint two or three vertical lines across the nail in your second color, spaced evenly apart. Don’t worry about perfection here. Slight waviness actually reads as more handmade and authentic once the full pattern comes together.
Load the brush lightly rather than heavily. A thin, controlled line is much easier to clean up than a thick one that’s gone off course.
Step Three: Add the Horizontal Lines
Cross those vertical lines with horizontal ones in the same or a third color. Where the lines intersect, you’ll naturally get a darker overlap, which is exactly what makes the grid look layered instead of flat.
Mason’s guidance for keeping the whole thing balanced: fewer, more deliberate lines beat a dense grid every time, especially on a small nail bed. Two or three lines in each direction is usually enough.
Step Four: Add One Fine Detail Line, Optional But Worth It
For extra depth, add one thin line of a third accent color running diagonally or alongside the main grid. This is the step that separates a simple plaid nail from one that looks genuinely considered, and it takes under a minute per nail once your hand settles into the rhythm.
Step Five: Seal It With a Glossy Top Coat
Finish with a glossy top coat. Plaid nail designs read best with shine, since it helps the intersecting lines catch the light and stay visible instead of blending together under a flat finish. A top coat also protects the fine detail lines from chipping away early.
Plaid Nail Designs Color Combinations Worth Trying
- Classic autumn plaid – cream, rust, and brown
- Moody plaid – black, burgundy, and forest green
- Soft neutral plaid – beige, taupe, and white
- Jewel-tone plaid – emerald, plum, and gold
- Accent-nail plaid – one plaid nail against an otherwise solid set
- Monochrome plaid – two shades of the same color for subtle texture
Tools That Make Plaid Nail Designs Easier
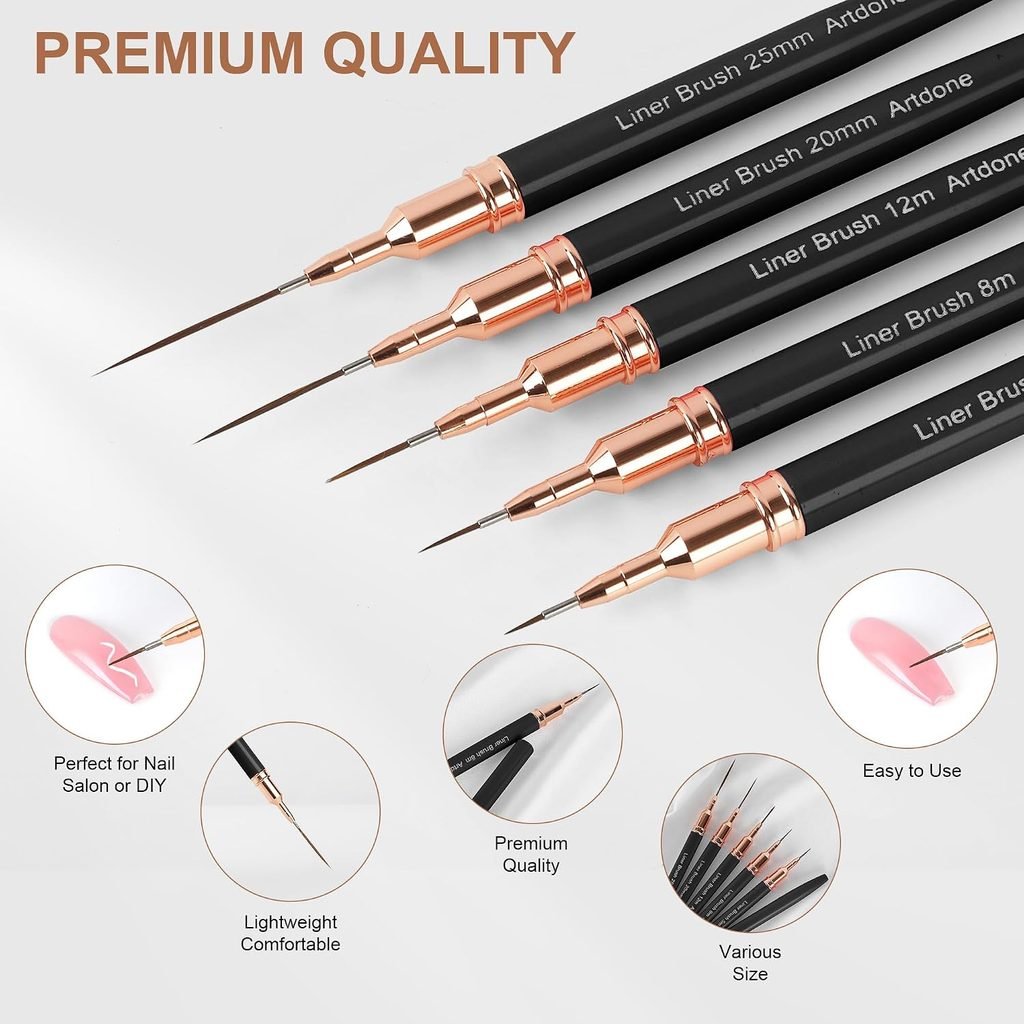
A steady hand helps, but the right brush helps more. Metallic Nail Art Pens with Liner Brushes, a 5-Piece Black Nail Tools Set gives you the fine-tip control needed for clean, even lines without a dedicated striping brush.
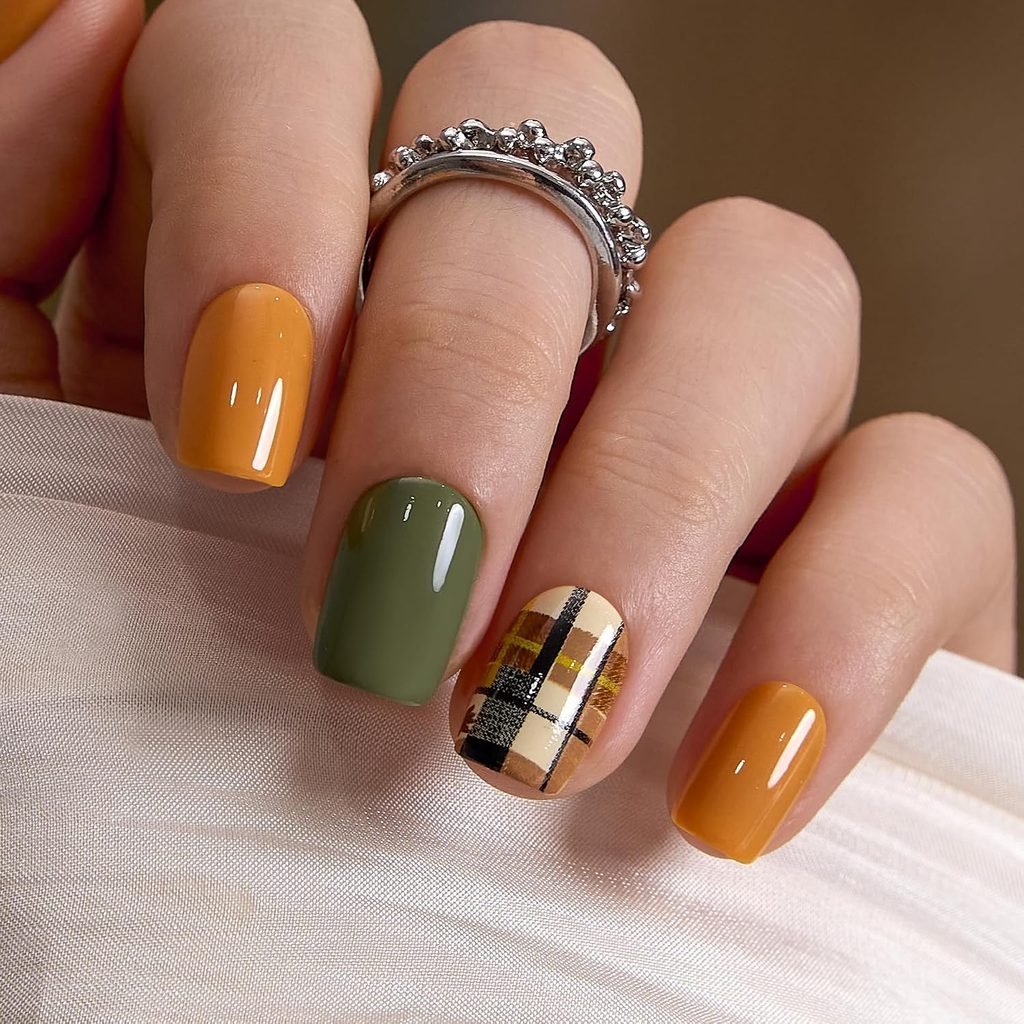
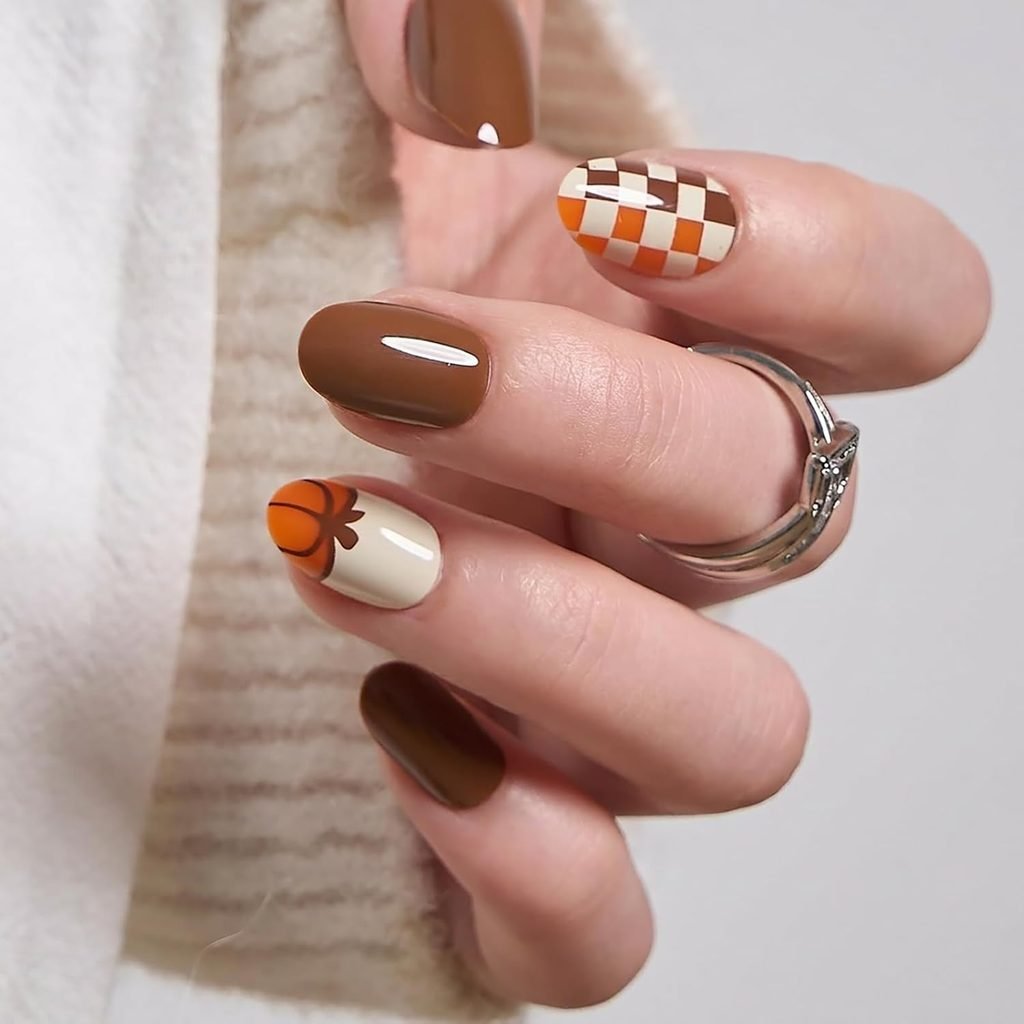
If you’d rather start from a pre-made base and just add your own accent lines, CurvLife Short Square Plaid Fall Press-On Nails in Harvest Yellow or CurvLife’s Short Oval Plaid Press-On Nails in Harvest Plaid Brown Orange both arrive with the pattern already done, so you’re just choosing which base to build on and whether you want to personalize it further.
What If My Lines Don’t Come Out Straight?
They probably won’t, not perfectly, and that’s fine. Mason’s own advice leans toward imperfection over precision. A slightly hand-drawn look is part of what makes plaid nail designs feel warm rather than clinical. If a line goes wrong, wipe it off with a small brush dipped in polish remover and try again, no need to redo the whole nail. Keep a cotton swab nearby for quick cleanup around the cuticle line too.
Why This Pattern Keeps Coming Back Every Fall
Plaid has a built-in advantage over most nail art: everyone already recognizes it. Unlike a trend that needs an explanation, a plaid grid reads instantly as cozy and seasonal, even from across a room. That familiarity is part of why it shows up on scarves, flannel shirts, and now nails, year after year, without ever feeling dated.
It also happens to be one of the few patterns that looks intentional even when it’s slightly imperfect. A wonky line on a geometric design can look like a mistake. A wonky line on plaid just looks like fabric.
Quick Questions About Plaid Nail Designs
Do I need a special brush to do this? A thin striping or liner brush helps a lot, but a toothpick or bobby pin dipped in polish can work in a pinch.
How long does a full plaid set take? Expect fifteen to twenty minutes longer than a solid manicure, mostly spent waiting for layers to dry between lines.
Can beginners really pull this off? Yes, especially starting with just two colors and a loose grid rather than a tight, symmetrical pattern.
Protecting Your Hands While You Work
If your base color is a gel that cures under a UV or LED lamp, the American Academy of Dermatology recommends applying sunscreen to your hands beforehand. And whatever finish you land on, Mayo Clinic’s standing advice applies: keep nails dry and moisturize nails and cuticles regularly between manicures.
Plaid Nail Designs Are Worth the Extra Fifteen Minutes
This look takes longer than a solid color, there’s no getting around that. But the technique itself is genuinely simple: two directions of lines and one optional accent. Once you’ve done it once, every future attempt goes faster, and the result looks far more complicated than the steps actually were.
For more cozy, seasonal ideas, see our guides to tortoiseshell nail designs and earthy nail ideas.
