

Rhinestone nails have a bit of a reputation. Done right, they look expensive and polished. Done wrong, they look like a craft project gone rogue. The good news is that the difference between the two almost always comes down to placement and product choice, not skill. You don’t need to be a trained nail artist to pull off a sparkly manicure that still looks intentional — you just need to know how much is enough.
Table of Contents
Why Rhinestone Nails Are Still Trending
Sparkle never really goes out of style, but rhinestone nails have found a new audience lately thanks to a shift toward “controlled glam.” Instead of covering every nail in crystals, the trend now leans toward one accent nail, a single line of stones, or a scattered cluster near the cuticle. It’s a much easier look to wear day to day, and it pairs beautifully with the old money nail aesthetic we covered earlier — quiet luxury with just enough shine to catch the light.
Start With the Right Rhinestones
The single biggest mistake people make with rhinestone nails is buying stones that are too big or too shiny in a way that reads cheap. Small, flatback crystals almost always look more expensive than large, chunky ones.
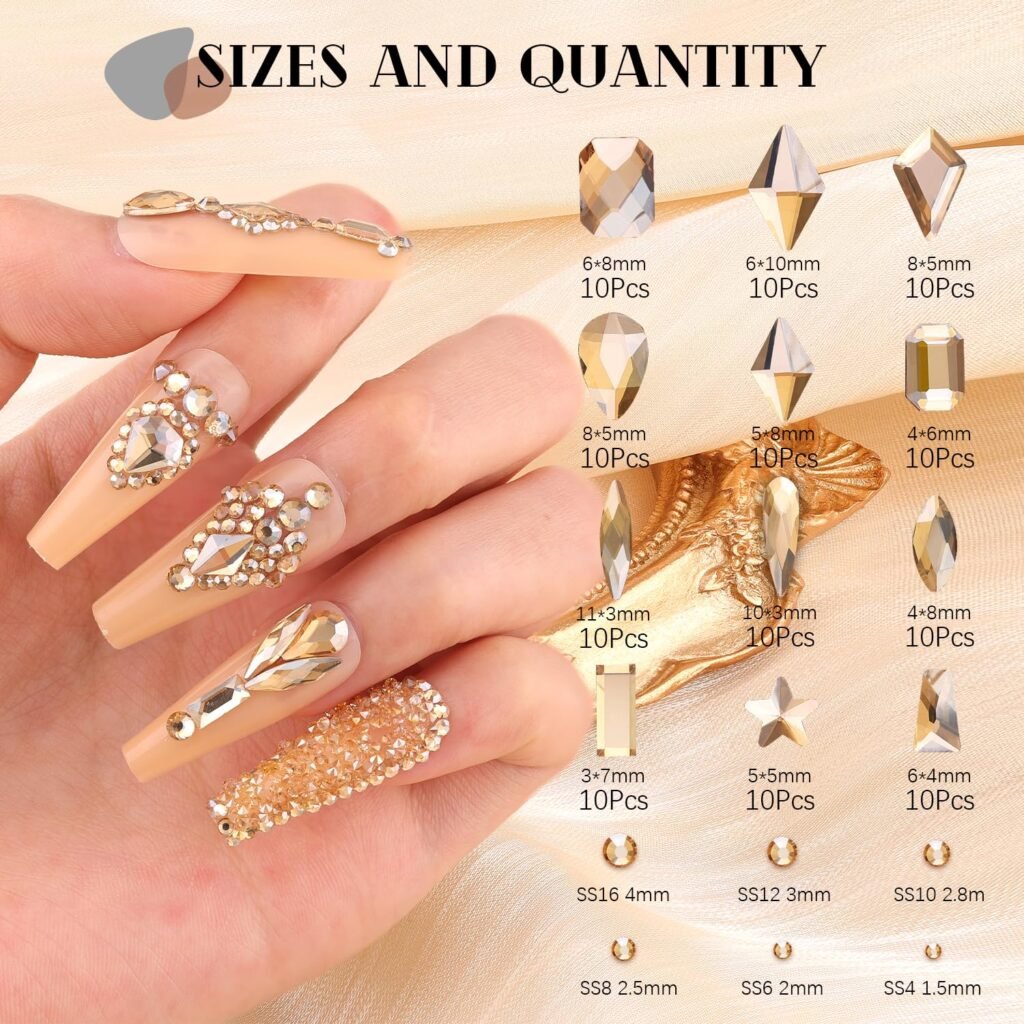
This is where 3220Pcs Gold Nail Rhinestones, 1.5-4mm Mini Flatback Crystal & 3D Multi Shapes Gems is a smart pick. The size range means you can mix tiny accents near the cuticle with slightly larger stones for a focal point, and having thousands of stones means you’ll never run out mid-manicure — a real problem with smaller packs.
The Glue Matters More Than You’d Think
Rhinestones falling off within a day or two is almost always a glue problem, not a placement problem. Regular top coat isn’t strong enough to hold a stone in place through daily hand-washing, typing, and general wear.
Makartt Rhinestone Glue for Nails is built specifically for this job. It’s a UV-cured gel formula rated for a 30-day hold, and the medium viscosity means it won’t run or pool the way thinner nail glues can.
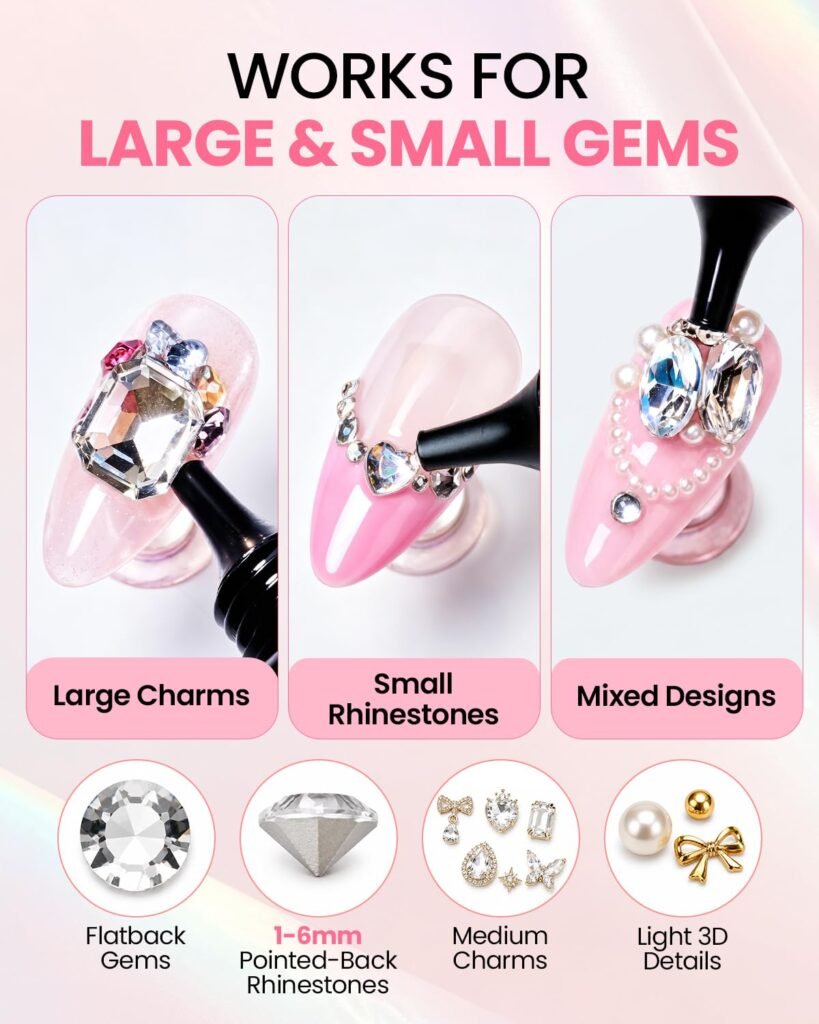
Apply a small dot exactly where the stone will sit, press the rhinestone in with tweezers, then cure. Skipping this step — or using leftover press-on glue instead — is the number one reason rhinestone manicures don’t last.
Placement Ideas That Don’t Look Overdone
A few placement styles consistently look polished rather than cluttered:
- One accent nail. Keep the rest of your nails a simple solid color, and let one nail carry all the sparkle.
- Cuticle line. A thin row of tiny stones along the base of the nail looks like fine jewelry.
- Half-moon accent. Stones along the lower half of the nail, tapering off toward the tip.
- Scattered constellation. A few stones placed asymmetrically, like tiny stars.
Whatever placement you choose, resist the urge to cover the whole nail. A little restraint is what separates rhinestone nails that look expensive from ones that look busy — the same principle we talked about with coquette nail charms and pearls, where less really is more.
No Time for DIY? Try Press-Ons Instead
If freehand rhinestone placement sounds like more patience than you have this week, press-ons are a completely reasonable shortcut. The stones are already applied evenly by a machine, which honestly often looks cleaner than a first attempt at home.
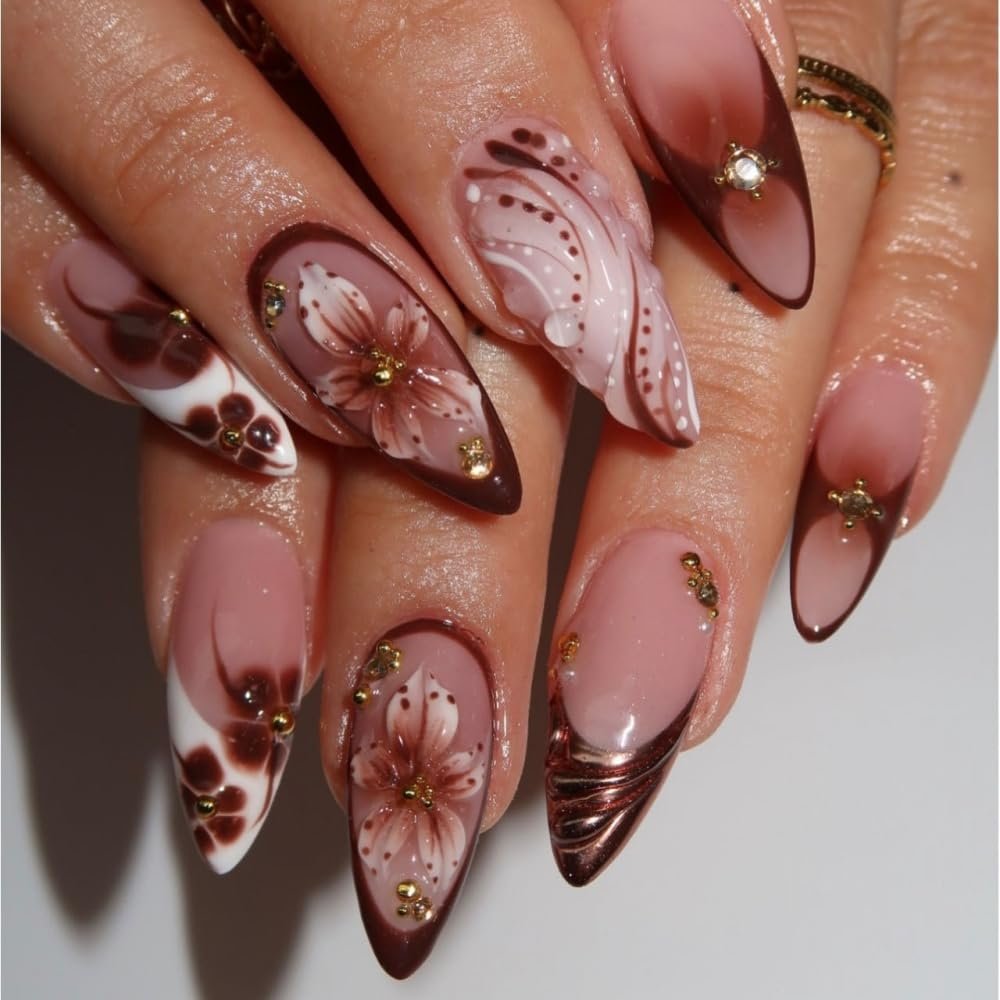
French Tips Press on Nails with Water Ripple Rhinestones gives you a glossy French tip base with a 5D flower charm and subtle rhinestone detailing already built in. It’s a great middle ground if you love the classic French tip look but want something with a bit more personality for a night out or special occasion.
Caring for Rhinestone Nails
A few small habits go a long way in keeping your sparkle intact. Avoid picking at the edges of stones, even if they feel slightly raised — this is what starts the lifting process. Wear gloves for dishwashing and heavy cleaning, and reapply a thin layer of top coat over any stones every few days to seal the edges again.
Final Thoughts
Rhinestone nails don’t have to mean over-the-top sparkle. With the right size stones, a proper glue, and a little restraint on placement, you can get a manicure that looks like it came from a salon chair rather than a craft box. And if DIY placement isn’t for you today, a good press-on set gets you the same effect in ten minutes flat.
